Your First Steps With Pro Tools Part 5

At the end of part 4 I left you with a new session with empty Edit & Mix windows. To do anything in Pro Tools you need to go into the Track menu and select New.
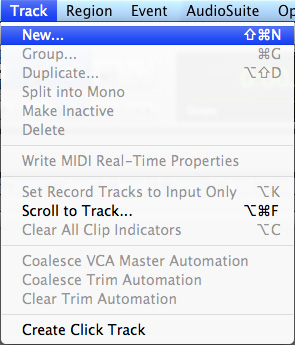
Then a track type window will open
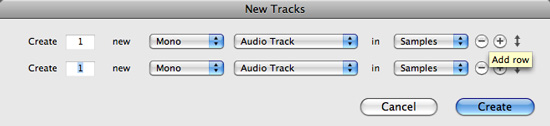
and from there you can choose your track types and how many of each you want. This isn’t a ‘once in a lifetime’ choice, you can go back into this option at any point and add more tracks as you need them. Now you will see that the Edit and Mix windows look a little more populated.

Toolbar
Across the top of the Edit window there is the main toolbar. From the left hand end there is the Shuffle, Slip, Spot and Grid buttons.
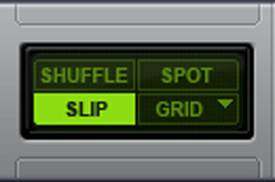
These determine how you can move material (Clips, used to be called Regions in PT 9 and earlier) around in the Edit window. Next is the Zoom section where you can zoom in and out of audio, MIDI tracks and the Timeline.

Next comes the main Tool section and we will cover this in more detail in a future article.

To the right comes the Counter section, which also will display the start, end and duration of any selected clip or clips.
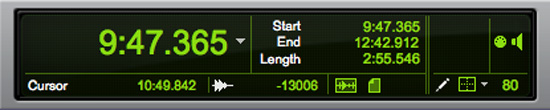
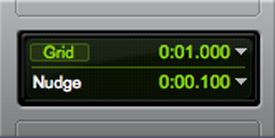
Then comes the Grid and Nudge display. You can set the grid so that the clips can only be positioned on the grid, say like on the beat for music, or on the frame boundaries for video post. The Nudge enables you to nudge regions by the set amount displayed in one of the full variety of timeline (ruler) options.
Finally comes the Transport section with the usual transport function buttons. Although there is a separate transport window for most things this section does what is needed.

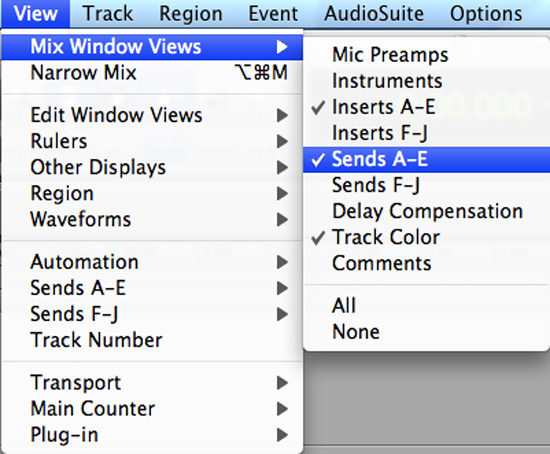
View
The View menu determines what elements you will see in each of the Pro Tools windows. For example this is what the Mix Window View options look like.
Next time we will look at recording levels.