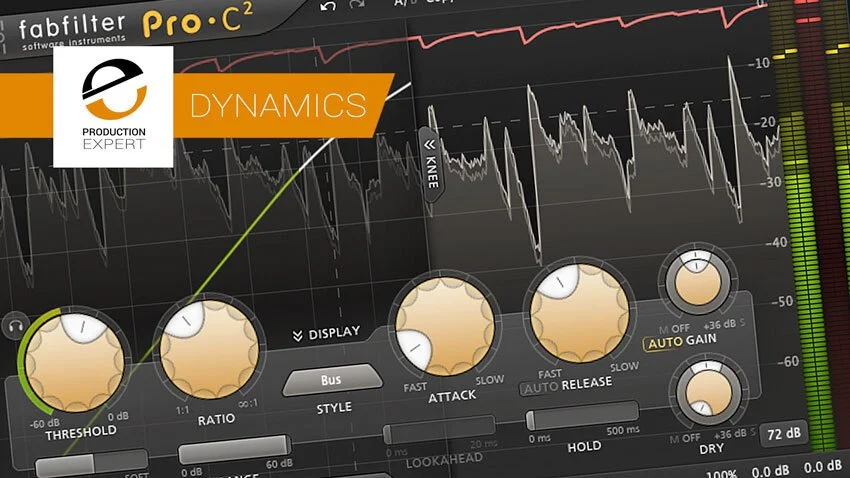
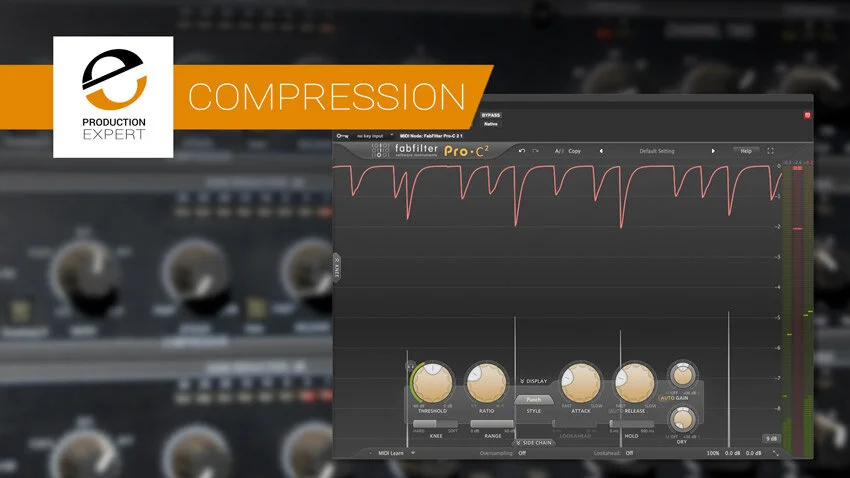
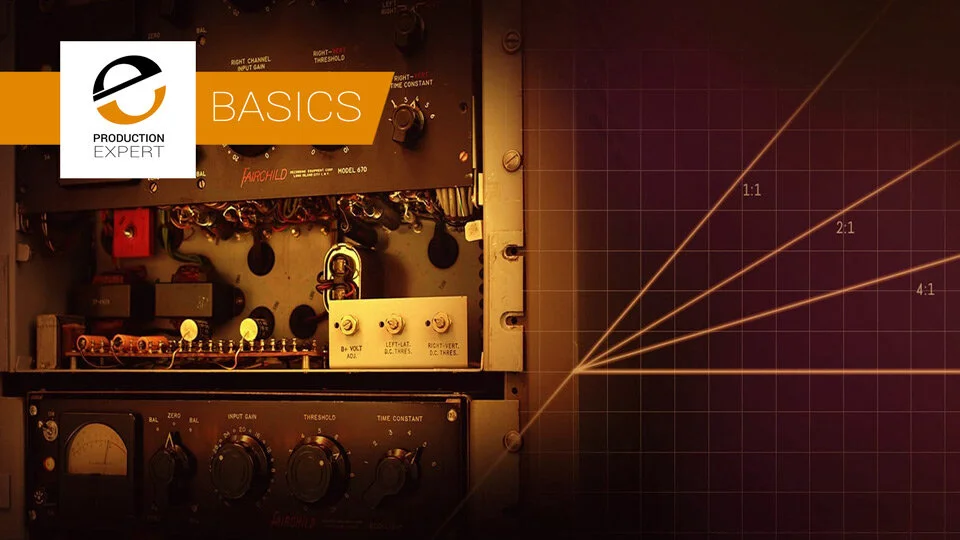
Understanding how a compressor works and knowing when and how to apply one to a track, mix bus or master are all key to achieving great sounding results. Without compression we wouldn’t be able to squeeze the dynamic range of audio, which is one of the fundamental processes we use to sit tracks together in a mix or indeed deliver a master. Compression can be useful in many ways. Apart from the obvious application of general levelling, compressors can also be used for producing creative effects or used for more surgical dynamic processing by way of multi-band compression.
Compressor plug-ins come in all shapes and sizes. Many are clean sounding and work in the traditional way, others are emulations based on legendary analogue gear with a raft of cool AI style plug-ins that sit somewhere in between. It doesn’t matter what your go to compressor plug-in is, if you don’t know how to get the most from compression your productions will suffer.
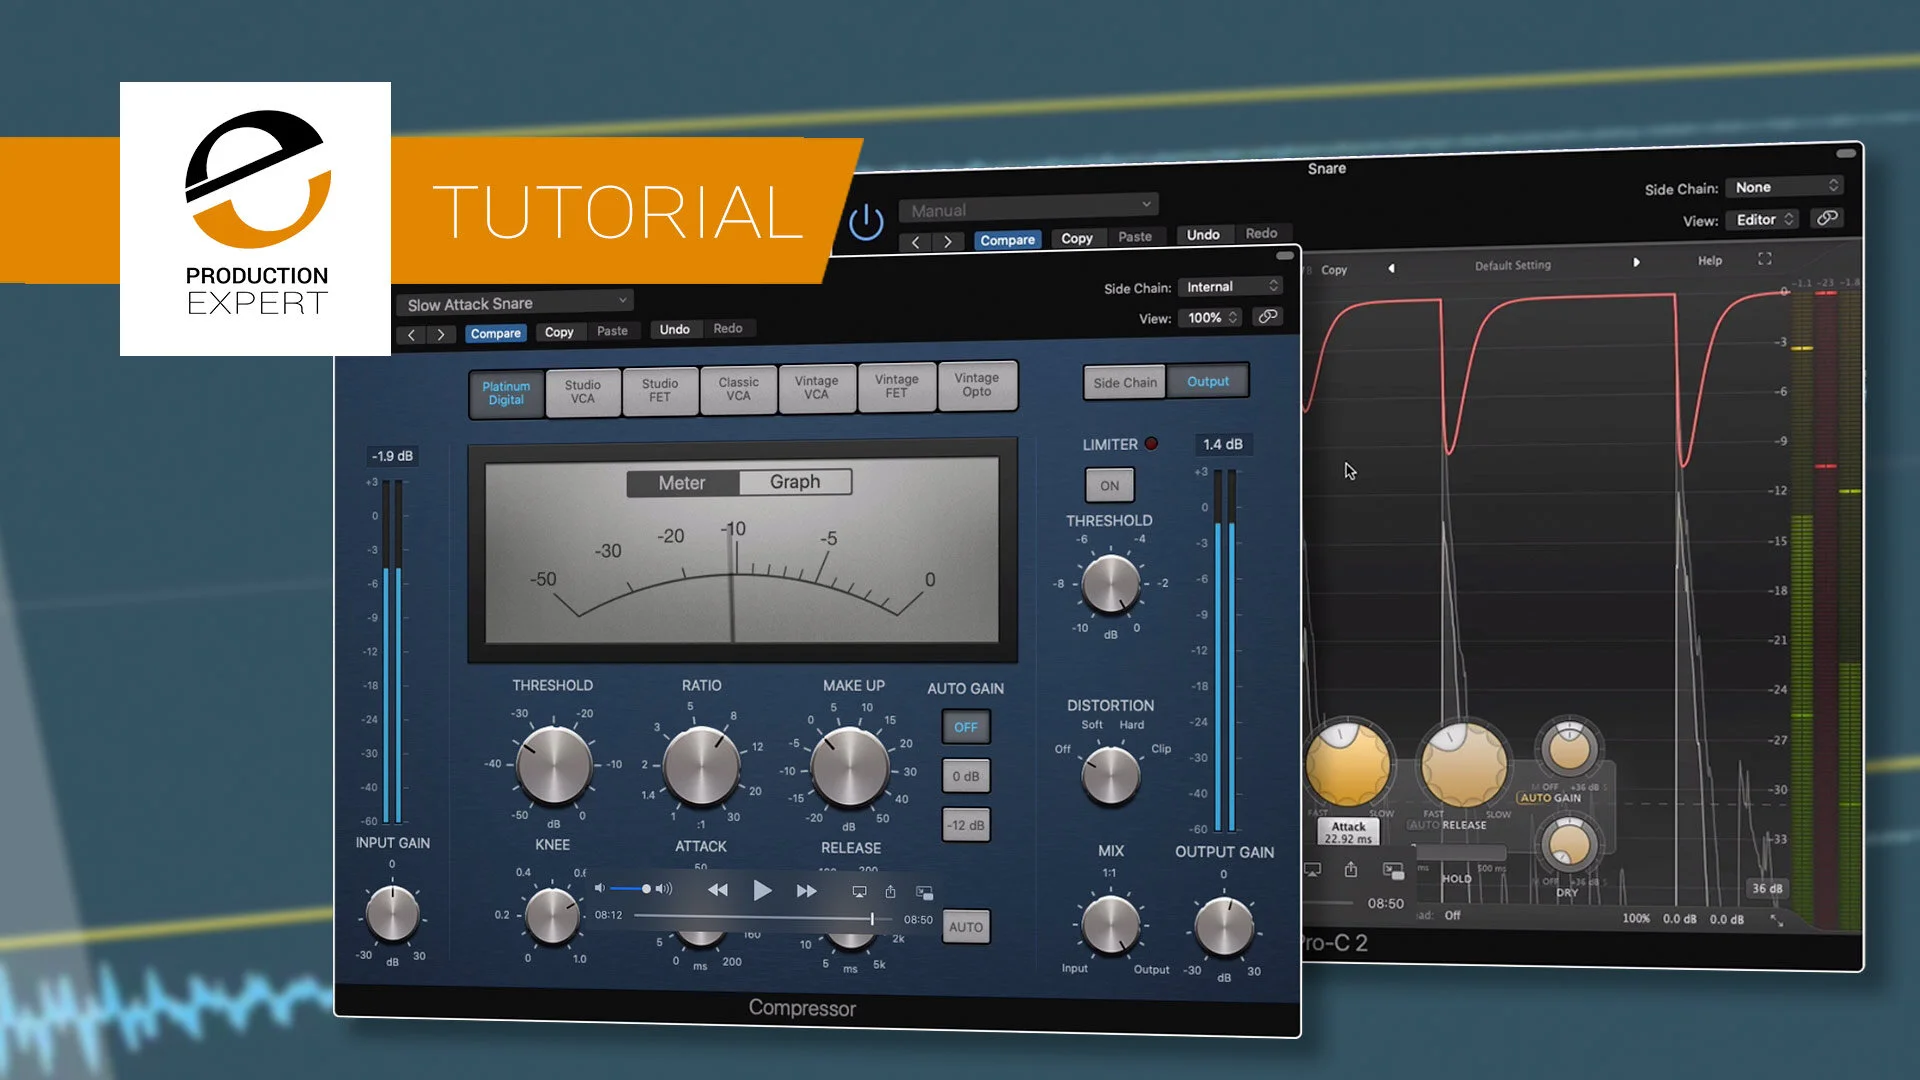
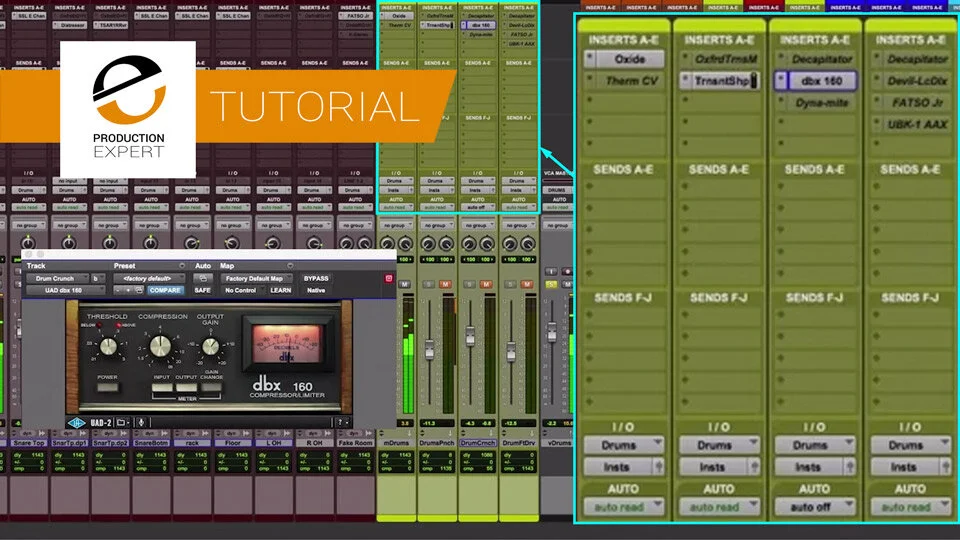
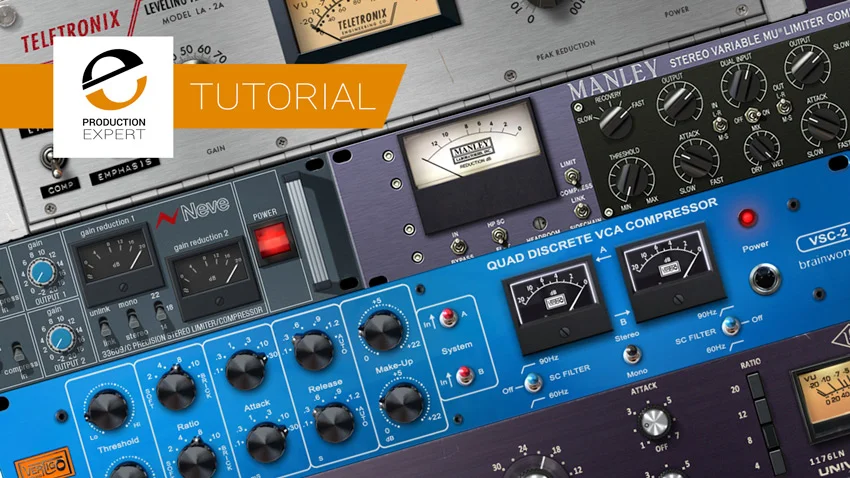
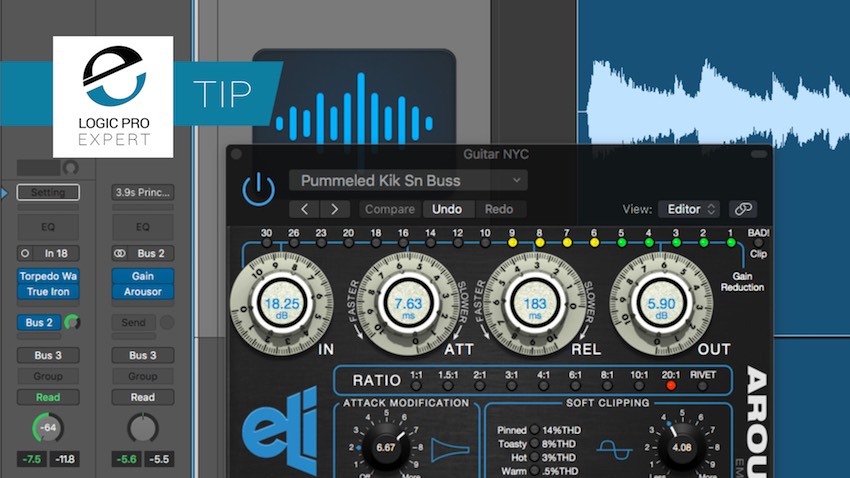
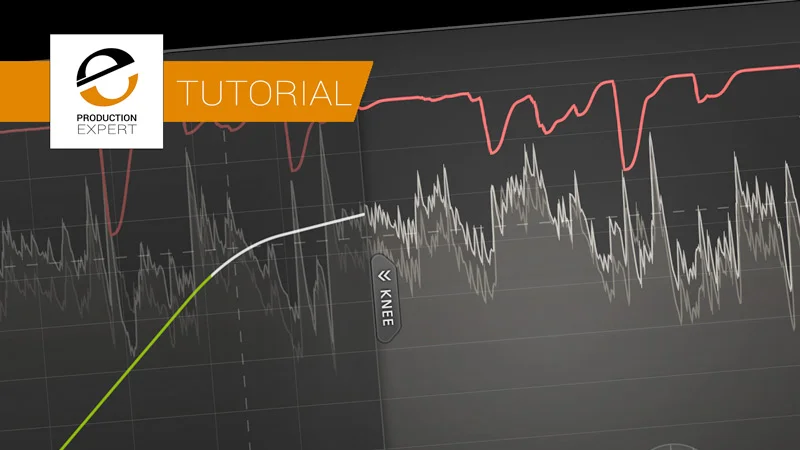
In this roundup we have collated several compressor tips and tutorial videos produced by The Production Expert Team and by our partners. Many of these tutorials are either DAW or plug-in specific but don’t let that put you off. The vast majority of the tips featured in the content below can be easily applied to any compressor plug-in or application in any DAW. Take your compressor skills from zero to hero today:
Compression is possibly the most discussed aspect of mixing. If you feel that you aren’t yet comfortable with compression, then starting with a good, clear explanation will get you where you need to be. We can’t think of a better introduction to compression than this primer from FabFilter.
Noise Gates are the place to start if you are learning dynamics processing. If you’re a novice don’t overlook the humble gate before you dive in to compression. Here are 10 things to keep in mind when using gates.
The stereo image can be affected by loud, off centre sounds unless compressors are stereo-linked but how often does that happen and is it always a bad thing? Chris Lord Alge Explains why he doesn’t link.
Adding to our half-dozen dynamics shaping tricks from last year, here are five more techniques with which to take your compressors into more artful territory than they perhaps might generally occupy.
Contemporary music production would be lost without audio compression. Whilst there are times to use compression as an obvious effect, there are many more times when it needs to be as transparent a way as possible. In this article iZotope contributor Ian Stewart takes a look at five tips for more transparent audio compression.
In this Premium Video Tutorial, Julian Rodgers demonstrates how an understanding of attack time can dramatically reshape the transient character of appropriate sounds.
In this video Julian Rodgers highlights 5 ways the features and UI of FabFilter’s Pro-C2 compressor can help you learn compression, and use compression better!
In this 5-Minute UAD Tip from Universal Audio’s Ben Lindell, learn how to add parallel compression to drums, even out a bass part, and bring presence to acoustic guitars with the dbx 160 Compressor/Limiter. Although Ben is using the dbx 160 compressor plugin everything he shares could apply to any compressor plugin.
In this premium video tutorial, Pro Tools Expert team member Julian Rodgers considers five different mechanisms employed by hardware compressors to achieve the results they do. Each method belongs to a different period of the history of the developments of audio technology and each sounds different. Hear the differences in sound in how they work.
Compressors and limiters are used to reduce dynamic range — the span between the softest and loudest sounds. Using compression can make your tracks sound more polished by controlling maximum levels and maintaining higher average loudness. Mason Hocks from Universal Audio explains some compression basics, different compression types, and gives some tips to try on your tracks.
In this premium video tutorial, Pro Tools Expert team member Julian Rodgers demonstrates how automation can take the strain off your vocal compression and how using volume automation affects compression differently than clip gain. Luckily you can change your mind about which you use without losing your automation.
Mastering a collection of songs can be challenging, especially if there are a variety of musical genres to balance together. In this premium video tutorial, we show how Dan approaches balancing together songs together in his typical mastering workflow. We address loudness, tone and overall album vibe using a combination of a control surface, outboard EQ and compression along with the power of plug-in processing in Pro Tools.
In this free video tutorial, brought to you with the support of Waves, we show you how to shape the dynamics of your lead vocal tracks in seconds using dual compression in Waves MV2 Plug-in. In a previous video I showed you a way to mix your lead vocal tracks with two compressor plug-ins, Waves CLA-2A & CLA-76, in this video we show you an alternative way to dual compressor your vocals using this, waves MV2.
In this video we demonstrate this popular vocal mix trick on a lead vocal track in which some of the notes in the performers lower register sink beneath the density of the mix where their loud notes poke out too much. Learn how two compressors together can really help to “spread the loud”
The Acme Opticom XLA-3 is a vintage style optical compressor which combines just enough control to be more flexible than some better known optical compressors with bags of character and old school vibe. In this free video tutorial, brought to you with the support of Plugin Alliance, Pro Tools Expert team member Julian Rodgers demonstrates the XLA-3 on some drums, electric piano and bass.
Do you know the difference between ducking and side chain compression? They are different. Do you understand negative compression ratios? If you don’t, why not find out? Watch this!
Rather than reaching for an EQ when trying to problem solve in a mix, try a multi-band compressor instead. It gives you all the frequency-carving tools you're used in an EQ plus the ability to add punch and definition to the envelope of your track.
In this premium video tutorial, Pro Tools Expert team member Julian Rodgers demonstrates a technique for level matched comparison of alternative parallel processing chains while experimenting with the results which can be achieved by processing the kick and snare in a rock track using Julian's version of plug-in chains typically used by Andrew Scheps and Vance Powell.
In this premium video tutorial, Pro Tools Expert team member Julian Rodgers demonstrates some of the issues around managing gain when using multiple parallel processing chains, how to manage them using master fades and a handy shortcut to use when working this way.
In this premium video tutorial, Pro Tools Expert team member Julian Rodgers investigates the difference between the five different detector modes in Pro Compressor by listening to the difference and also by running test tones to see the difference visually.
In this video, I want to share with you what I consider to be a much underused and under-hyped tool in Logic Pro X. It works great when put to work on a parallel drum bus. I’m talking about Logic’s Phat FX. Added relatively recently, it is a multi-purpose multi-effects processor. But just because it is a multi-effects processor, that doesn’t mean you have to use all the multiple effects available all the time.
We see lots of articles on compression techniques and feature lists for both hardware and software refer to a blend mode or a control to mix the compressed signal with the dry signal as parallel or “New York” compression. The idea of parallel compression is that a blend of the sustain of the compressed signal and the attack of the dry signal combine in manner to give a result that is the best attributes of both signals. Prior to boxes with a dedicated parallel function, the technique to do this was to “mult” (split) the signals, and then mix them back together again on separate console strips. It is widely accepted that this technique was first used in one or more reknown studios in New York. The problem is that it isn’t authentic New York compression, there’s a missing detail that makes all the difference.