
During this terrible crisis, we have seen a lot of discussion about remote recording and working from home. This is fine for a lot of people, but what if you need to get high-quality audio from somebody who has absolutely no idea what they’re doing? Not everyone is technically minded, but then many have never had to be, because talented performers who have worked exclusively in professional studios for years may have never even had to consider the technical side of things - until now.
Furthermore, as a producer or engineer, this could be new to you too. Perhaps you have decades of experience recording in pro studios but suddenly you have to record somebody who is in their own home but from your own home as well!
Finding a simple solution is obviously going to make your life easier but, perhaps more importantly, I also find that complexity puts people off, and the inexperienced might be scared away from making any kind of investment to see them through the next few months. The last thing you need is for one of your regular clients to decide to focus on other sources of income for the time being, or even to just wait this out if they can afford it. For my own interests if nothing else, I want performers to continue recording!
This article will present recommendations and advice to help you achieve high-quality remote recordings with a non-technical participant, who currently has no solution in place at all. It aims to be as simple as possible for you both, but with the understanding that you might need to work a little harder to make things easier for them.
We are going to focus on spoken word rather than music; although certainly much of what follows could easily be applied to a music session, I want to keep this all as simple as possible and not complicate the workflow.
The Case For USB Microphones
I’ve suggested to a couple of my clients that they make a small investment in a USB microphone. Perhaps this is controversial, but hear me out. If I were setting up a home studio under normal circumstances a USB microphone would not be my first choice but, of course, we are not under normal circumstances.
For me, the main advantage of a USB microphone is that it cuts out a lot of unfamiliar technology for the inexperienced. The thought of trying to talk multiple clients through setting up a microphone with a stand and a pop shield, hooking up an audio interface, installing software, getting them to grips with phantom power, direct monitoring and who knows what else I’ll inevitably forget, entirely over the phone, sends shivers down my spine.
USB microphones are designed and built to be simple so that neither you nor your client has to worry about these things. Most have a built-in table top stand and a pop shield, many use direct monitoring / zero latency and, because so many are designed for spoken word only, they often don’t even have a gain control.
All you need in addition to the microphone itself is a simple, familiar-looking USB cable and a pair of headphones. Just plug it in and you’re ready to go. Quite frankly, USB microphones are as idiot-proof as possible.
Most USB microphones are plug and play because they’re class-compliant - that is, they use the generic built-in audio drivers in your computer’s operating system whether that is macOS or Windows. In fact, your computer will just see one as a simple audio interface, and on many, you can play back audio from your computer through the microphone’s own headphone output.
There are a few things to note when you’re recommending a USB microphone.
Be sure that it definitely is class compliant, or at least advertised something along the lines of plug and play or no software to install.
Be aware that some of the cheaper ones don’t have a headphone output, or direct monitoring through that headphone output, which might be a complication for your non-technical participant.
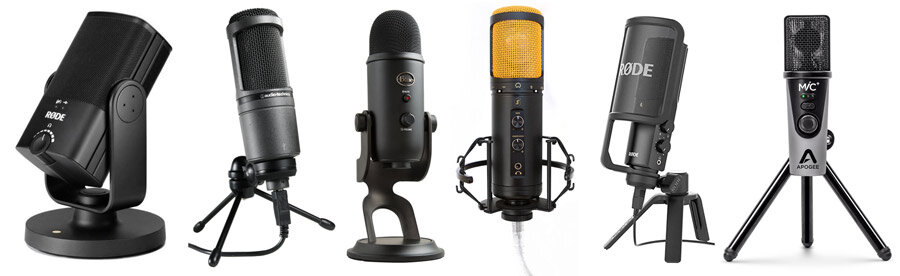
The resolution can vary so be sure to check that they can record to your delivery specification, probably at least 16 bit, 44.1KHz. Many are specifically aimed at gamers, generally headsets - I can only imagine that these really don’t sound very good. From looking around online I think a guide price range between £100 and £150 should get you something perfectly capable.

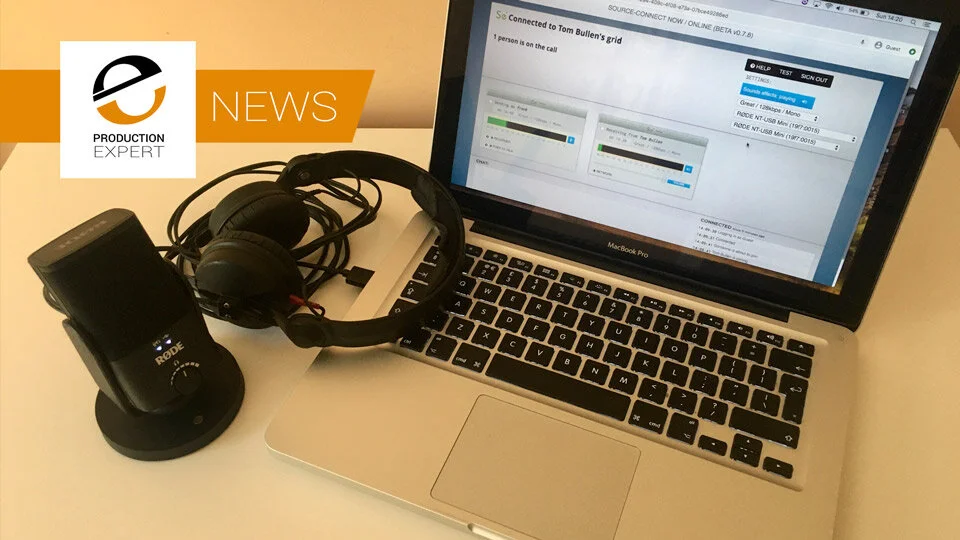
Before I suggested this solution to a couple of my clients, I bought a USB microphone myself to test out the sound quality and to be sure it was all as easy as it looked. I settled on the Rode NT USB, but a lot of people seem to have had the same idea as me and nowhere seems to have it in stock. Luckily it has a little brother, the Rode NT USB Mini, and I was able to order this with next day delivery from PMT Online.
It came in a friendly-looking, sturdy box, and the first thing to see inside was a very simple instruction manual which highlighted the ease of getting up and running. It has a strong build quality, entirely metal, and the only control - headphone volume - was reassuringly stiff and I think impossible to accidentally break. It has an adjustable tabletop stand with a magnetic base, and the only connections are a 3.5mm headphone jack and USB-C. The included USB-C to USB-A cable is usefully very long.
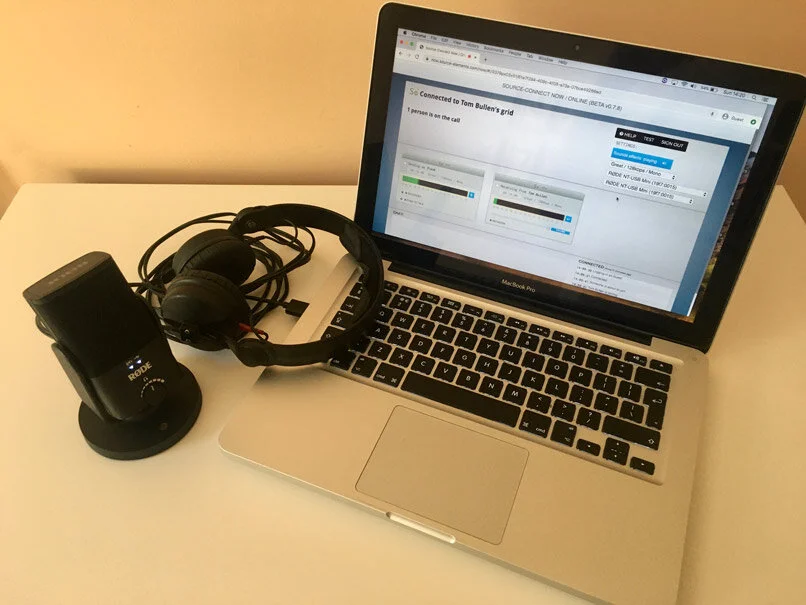
When plugging into my trusty old 2012 MacBook Pro (to be assured that it’d run on an older computer) the status LEDs lit up with reassuring speed, and it appeared as an audio interface in System Preferences immediately.
That was it. There really couldn’t be anything simpler.
If the world of USB microphones is already somewhat familiar to you, an alternative to the Rode is the Blue Microphones Yeti. If trawling through music technology websites for stock and delivery times isn’t your thing (bearing in mind that Amazon is currently swamped) the Yeti is, at the time of writing, still selling at Argos in the UK with next day delivery. What could be simpler for your client?
If you’re used to recording in professional environments, perhaps you’re sceptical that a USB microphone is worth the modest investment. Or, perhaps you’re working with someone who shows no real interest in the subject. To demonstrate the potential improvement in audio quality, I have put together a short comparison between the Rode NT USB Mini against my 2012 MacBook Pro’s built-in microphone.
Tailoring The Recording Environment
Many of the remote links I’ve seen on TV during this crisis have shown a presenter or an interviewee in a large, reverberant room, and many of the podcasts I listen to have familiar voices spoiled by what sounds like recordings made in a bathroom.
It probably doesn't occur to many people just how important room acoustics are, or perhaps it’s assumed that any improvement can only come about with considerable construction or help from an acoustician. But, for spoken word, where you want the sound to be as dead as possible, a lot of unwanted room sound can be removed simply by changing the location of the recording.
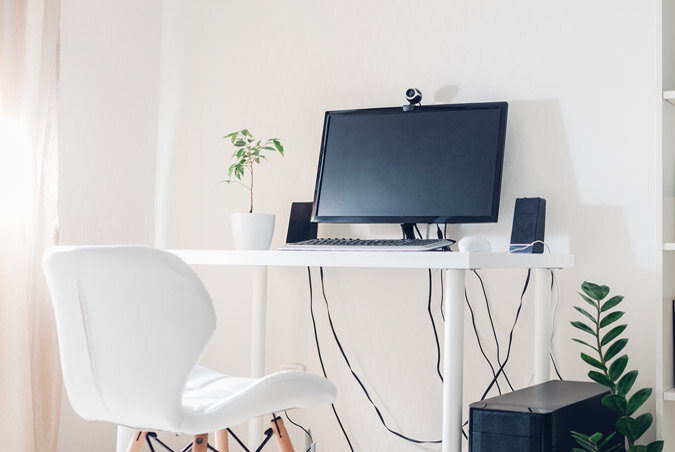
If you can, ask your participant to set up their recording space in a not too large, dead sounding room like a bedroom or a study, preferably carpeted, with plenty of absorptive materials. Bringing in some soft furnishings from other rooms, they can improve the sound of their space dramatically. You may need to help them out a little in post-production, but not as much as if they’re recording in their kitchen or a large, wooden-floored living room.
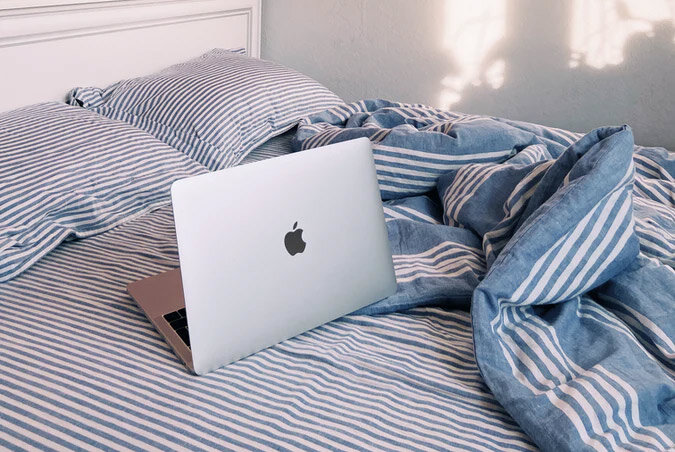
To demonstrate again, hear is an audio file comparing recordings made with the Rode NT USB Mini, firstly in a reverberant room, then simply me sitting on my bed.
Your client’s first thought might be to use a cupboard or a closet, which is already stuffed with clothes or coats, but try and avoid this as it can sound boxy and standing waves will become just as much of an issue as the reverberation that you’re trying to minimise.
There is, of course also the difficult problem of external noises coming in from the outside world - something I have been finding particularly problematic in my London flat. The best I can suggest here, other than recording in the room furthest away from roads or parks, is to record during the night-time, although I can appreciate that this may not be an option for all recordings. That said, I’ll hazard a guess that aside from city centres most places are currently quieter than usual during the day.
Source-Connect Now
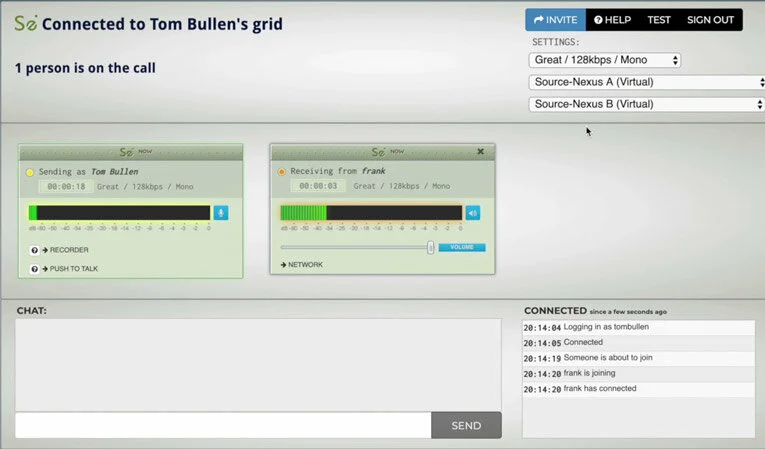
Source-Connect Now from Source Elements seems to be becoming the audio industry’s saviour, and it’s been a sponsor of the Production Expert podcast for quite a while. I’d like to show you in reasonable depth how you can use Source-Connect Now to connect with your voice artist and record some audio so that both of you can continue running your businesses.
Source-Connect Now is completely free, both for you, who will act as the host, and for anybody else joining as a guest. The developer, Source Elements, have been saying for years that it’s in beta and that they’ll be charging for it one day - I hope that isn’t too soon because it's an incredibly useful tool, and it already works really, really well.
There are two key reasons why I’d recommend Source-Connect Now over another solution, remembering that we’re trying to keep things as simple as possible for our non-technical participant…
Only the host needs an account. The guest just needs a link and a passkey which you can send to them via email.
It’s browser-based, so there’s no software to install except for Google Chrome browser, which hopefully they will already have installed and will be familiar with.
Unfortunately, it will not work with other browsers, so you may have to talk them through installing Chrome but I can imagine that this may actually be the most tricky part for them of this whole process.
The settings are all available on the one page, and there is a very simple recording feature that enables participants to capture their local audio. This might be all that is required for your recording sessions. I have put together a free video tutorial showing how to get connected and recording on Source Connect Now from both the perspective of both the host and the guest.
Source-Nexus
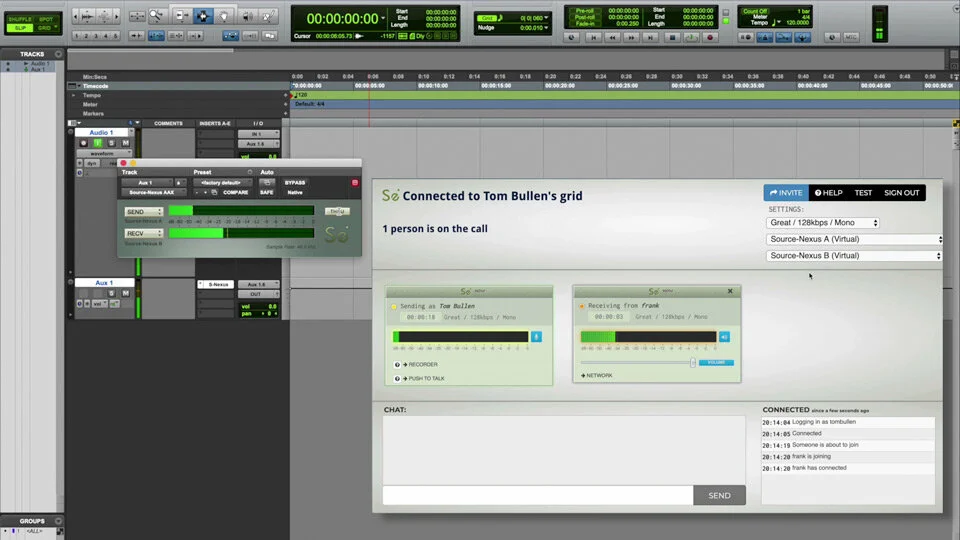
However, it’s likely that you’d rather feed the output of Source-Connect Now directly into your DAW of choice, to record onto a familiar looking timeline and throw in markers when necessary. You could physically take the output of Source-Connect Now and connect it to your DAW input, perhaps even using two separate computers, but Source Elements have also developed their own audio driver and plugin called Source-Nexus. This allows you to virtually patch Source Connect Now in and out of your DAW. Unfortunately for Windows users, Source-Nexus is macOS only.
There are three versions of Source Nexus, Free, Basic and Pro. You’re going to need Pro, as Free doesn’t have a plugin and Basic will only work in one direction. There’s a 15-day trial for you to try it out, and I think that as the incredible resource of Source-Connect Now is completely free it would be worth supporting Source Elements and paying for Source-Nexus. You’ll also need an iLok account, but not a physical iLok as you can authorise it locally.
Here’s a free video tutorial demonstrating how to use Source Nexus to get audio going between Source Connect Now and Pro Tools.
Audio Quality
I find that it’s more important to have a stable, rather than a fast internet connection, at both ends to get good quality audio, as the audio file below demonstrates…
However, there are two drawbacks to this method: one is that although the audio quality is good, it is still being compressed to a lossy format; also, as the connection speed can vary, so can the quality of the audio, and there might even be some time stretching going on as the audio codec tries to compensate for the connection speed changing.
For longer recordings perhaps it is best to use both methods, record into Pro Tools and ask the talent to record locally into the Source-Connect Now built in recorder.
Whatever you get, because they’re still obviously home studio recordings you might want to clean up your audio a bit more than usual. I’m a huge fan of RX, and Voice Denoise and Dereverb can work wonders on even the worst sounding audio. But of course, it won’t be the worst sounding audio!
