It can make sense to upgrade your studio to Dolby Atmos, especially if you are a sound designer or a recording mixer and you work on content commissioned by Netflix. But what about if you are a score mixer? Phil McGowan has just been through that process and in this article, he shares his experiences and his workflow for mixing and delivering scores in Dolby Atmos.
Intro
Even though Dolby Atmos has been around in the theatrical world for nearly 10 years now, the past few years have seen an explosion in the popularity of the format in the streaming and home theater world.
Netflix now asks that all of their content be delivered in the format and I wouldn't be surprised if other platforms follow suit in the near future. This has led many people to upgrade their studios to Dolby Atmos so that they can work in this exciting new(ish) format.
Typically this upgrade has been done by Sound Designers and Re-Recording mixers working in post as they are on the frontline of delivering content in Atmos. Being a score mixer, I thought long and hard whether or not Atmos would be something that is applicable to mixing scores for Film & Television as the delivery of Atmos mixes to the dub can add a lot of complications if it isn't done in as clean and straightforward a manner as possible.
Despite my slight hesitation (ok I'll admit, there was no hesitation), I went ahead and upgraded my 7.1 mix studio to 7.1.4 earlier this year and am happy to say that I am now mixing my first TV score in Atmos so I thought I'd share the mixing and delivery system that I have established for this project.
I can't say just yet what this project is but it features a wonderful score by my longtime clients Danny Bensi & Saunder Jurriaans and re-recording mixer extraordinaire Eric Hirsch.
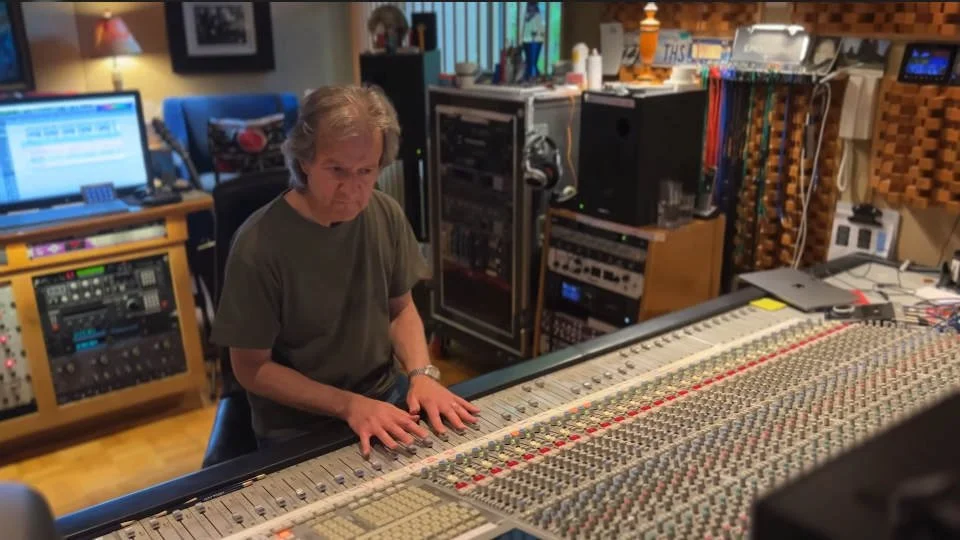
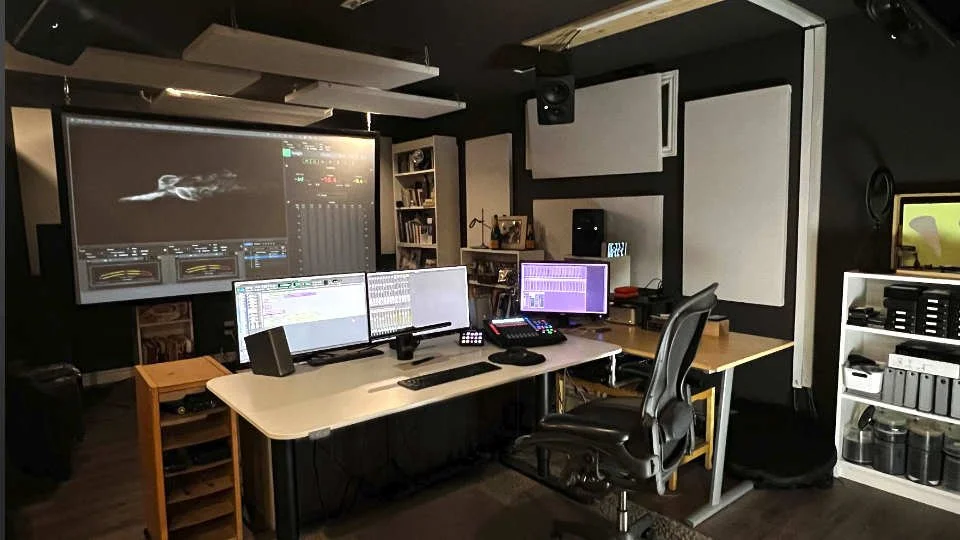
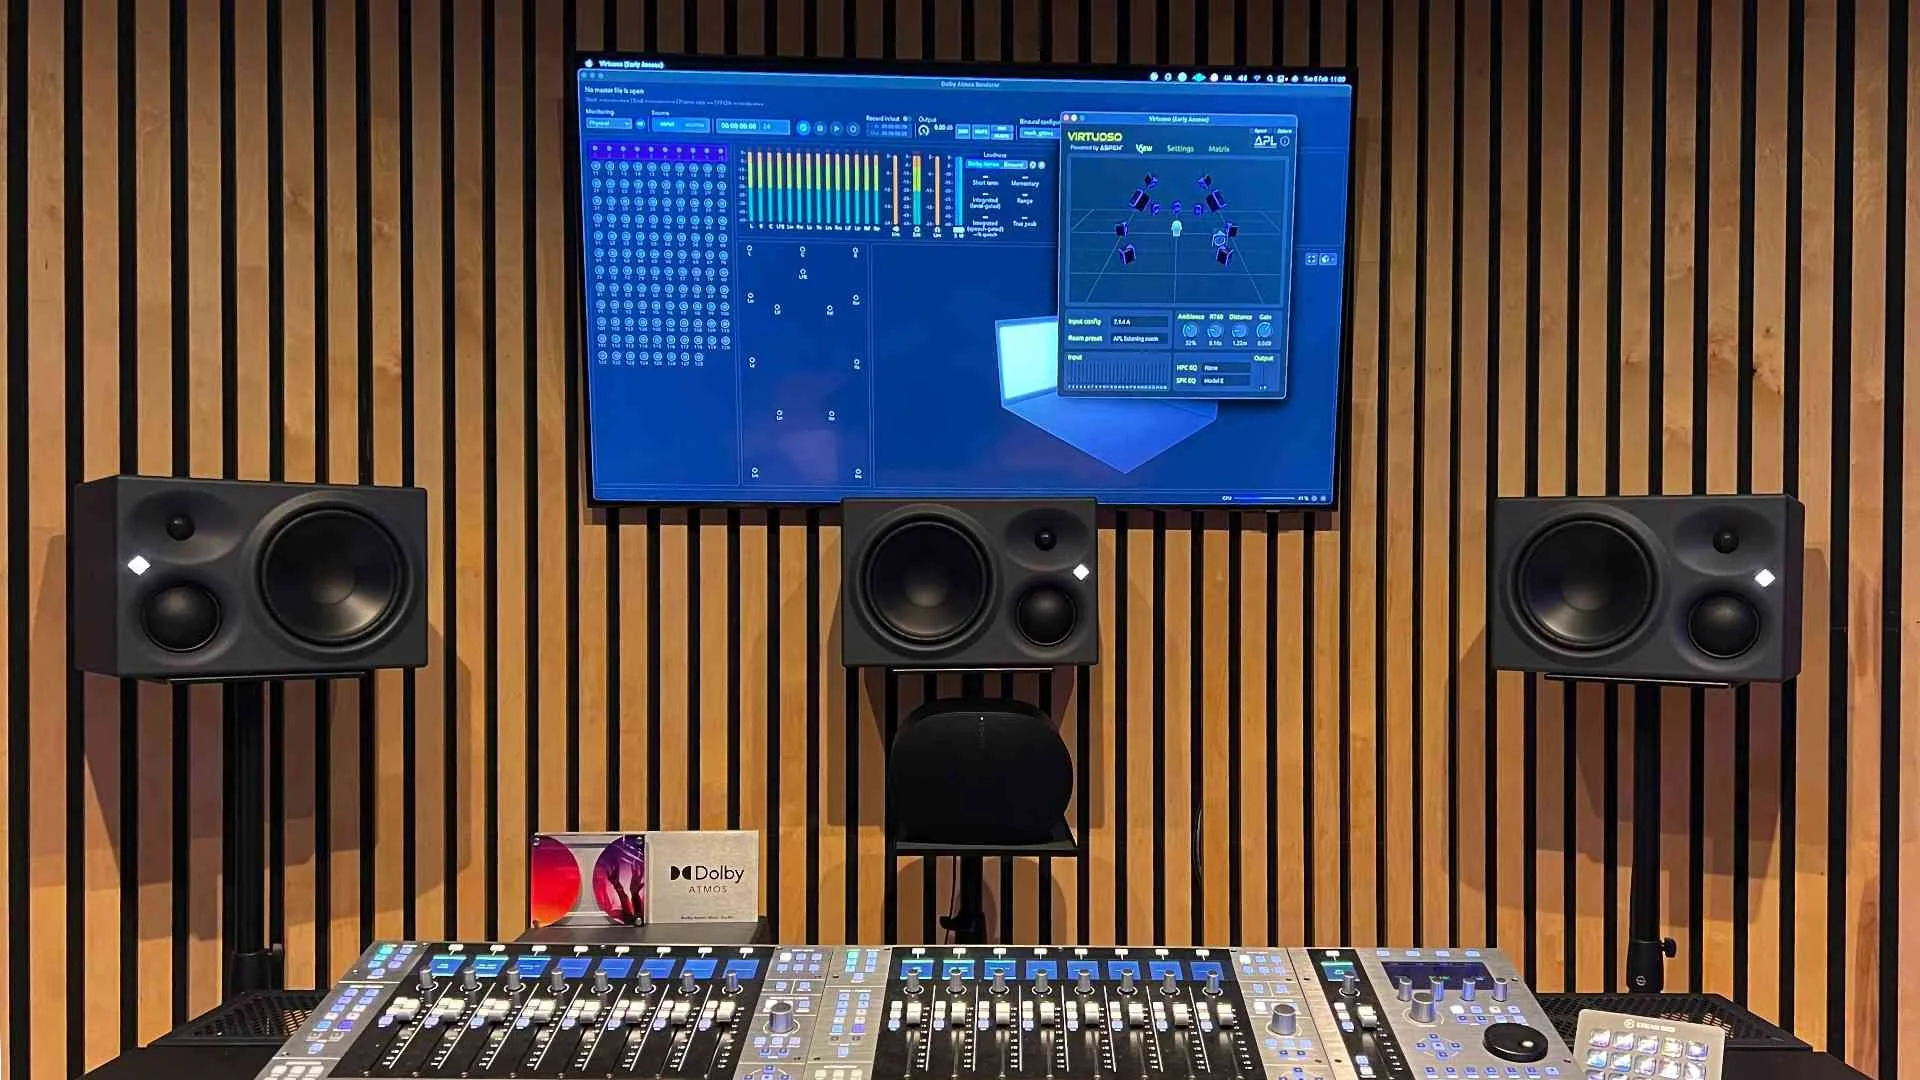
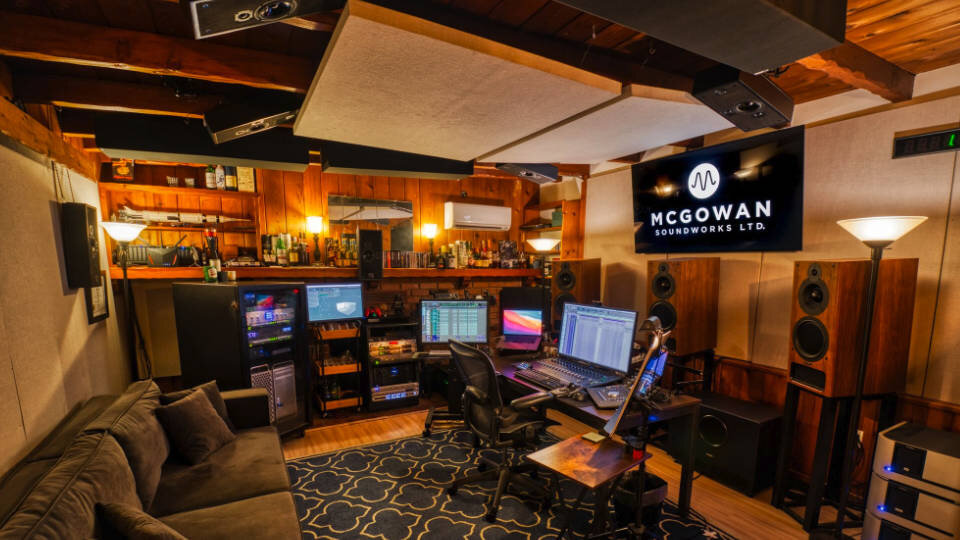
My Studio
I've been a big fan of PMC speakers for a while so my PMC IB2 LCR remained unchanged during my upgrade to Atmos. Previously I had 4x Genelec 8020s as my surround speakers with an old B&W home theater sub for my LFE that I've been meaning to upgrade for years but never did.
For this upgrade, I did away with my old surrounds and sub and installed 8 PMC wafer2s as my surround and height channels and 2 PMC twotwo Sub2 subwoofers for my LFE and bass management. This system has been a massive upgrade in quality, even in 5.1 and 7.1, formats that I still frequently work in.
When it came to an Atmos monitor controller, I had previously installed an Avid MTRX with the intention to use it as my controller whenever I did my Atmos upgrade so that still serves as my monitor controller and as the central routing hub for the 3 computers used in my studio.
For Pro Tools, I've had 2 rigs for a while as I like printing stems over to a 2nd rig and running video off of that rig and that has remained unchanged. My main mix rig is an Apple Mac Pro 7,1 HDX3 system with 128 channels of I/O to the Avid MTRX via DigiLink. I also kept a single AES HD I/O on this rig so I can connect my 2 Lexicon PCM96 surround reverbs whilst also maintaining a separate 7.1 monitoring path to the MTRX so I can monitor things from Pro Tools without eating up Digilink paths for Atmos.
The 2nd rig is an older Apple Mac Pro 5,1 HDX2 system that also features 128 channels of DigiLink I/O to the MTRX, which has proved necessary for working in Atmos. As part of the upgrade, I also built an Atmos Renderer, which is a Mac mini running a RedNet PCIe Dante card in a Sonnet chassis that provides 128 channels to and from the MTRX.
Here is a connection overview of my studio so you can see how everything is connected. You can click on the image to see a larger version.
Studio Connections
Fixed vs Flexible Objects
So even though this project is my first true Atmos score mix in my new room, I have mixed scores with stems printed to be used as objects, only monitoring those mixes in 7.1 on my old system. The object stems that I printed for those projects were what I now refer to as ‘fixed objects’, meaning that they were intended to be panned in the exact same position for the entire project.
Those scores featured live orchestra recordings that had specific microphones placed very high or even in the ceiling to give me some ambience for height. I printed these height microphones as a pair of stereo stems with their own reverb so that they could be panned in the height channels. I also stemmed out the wide outrigger mics as a stereo stem so they could be panned in the wide ‘proscenium’ speakers, meaning the first pair of surrounds that are just off the screen on the wall in an Atmos theater.
The ‘fixed object’ system has been very well received by dub mixers and as far as my deliverables are concerned, only added a few more stems without music editors having to deal with any object pan automation from cue to cue. I will likely continue to use this system for more editorially complicated films and tv shows in the future where many conforms are likely to occur or for scores where there's no need to do anything more with the music with objects than split out some microphones from the orchestra multitrack.
That system is all well and dandy for those types of projects, but sometimes a score comes across my plate that is much less traditional and could lend itself to loads of fun moving elements around the room as objects. For scores like this, I still am printing extra stems that are to be used as objects but these stems will change from cue to cue and therefore require me to also deliver whatever object pan automation I did for playback at the dub. This also gives the re-recording mixer control over my object placement in case I have a little too much fun and do something that ends up being distracting in the final dub.
This is the type of project that I'll be describing in this article.
Stem Layout
So now down to the nitty-gritty of what I'm delivering for this TV score mix.
This score doesn't have any live orchestra recordings, all of the string elements are performed by Danny Bensi, one of the composers on this project. While I miss having room microphones on an ensemble, this does allow me to have fun placing all of the mono string elements wherever I want and for Danny & Saunder scores, there's never an intention to make these string elements sound like they were recorded as a ‘proper’ ensemble in a hall or scoring stage. So there was no place for the fixed objects that I would typically deliver when the score features an orchestra multitrack of an ensemble.
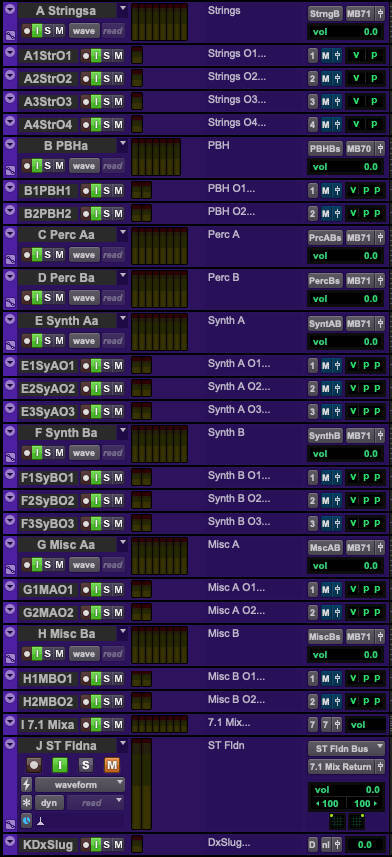
On the right are the stems I'm delivering for every cue on this project:
There's a total of 22 object stems, which have been organized to correspond with a master 7.1 or 7.0 stem that features any reverbs I use in addition to whatever dry elements I don't deem worthy as an object. This means that the 7.1 or 7.0 stem and whatever related object stems are always intended to act as 1 element editorially and when making level adjustments as changing an object’s level separately from the surround stem would result in changing the wet/dry balance of that element. This is of course sometimes a good thing as the perspective of the dry objects vs the reverbs I've printed sometimes need to be changed as things move around the room but from a mixing and editing perspective, I view these object stems as simple expansions of the surround stems I'd typically solely deliver in a 5.1 or 7.1 score mix.
Every ‘food group’ of stems has 4-6 object paths available with Percussion being the only element with no objects. This is because I still like to do bus compression on my percussion busses so breaking out elements into objects would mess with that and plus, I didn't feel like percussion was as likely a candidate for object panning so those I just left as 7.1 stems.
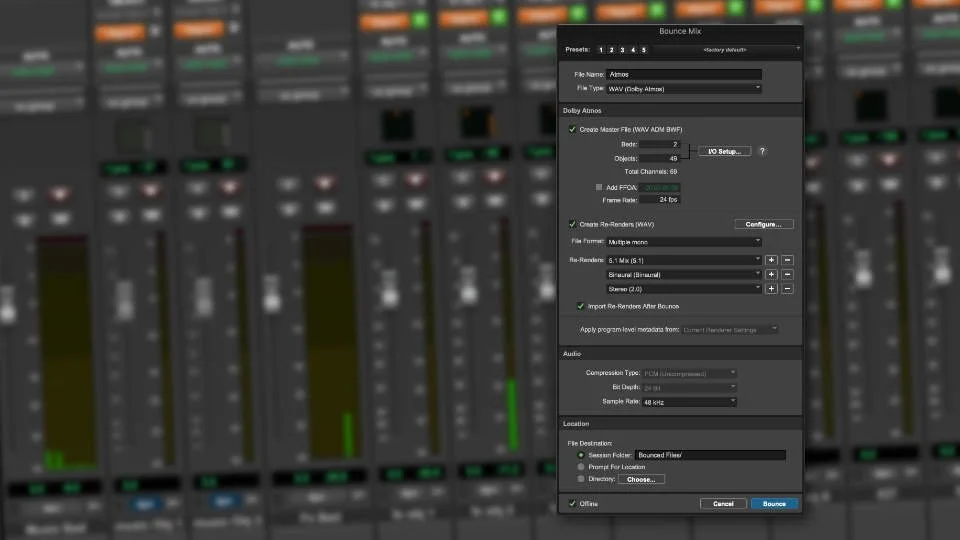
I also print a 7.1 mix, a Stereo Folddown, and a Dialogue slug that is simply a recording of the temp Dialogue and Effects that I mixed against to make it easier for music editors to spot check the sync of each cue, especially when there has been a conform.
Typically I do my own 7.1 composite sum and stereo fold down with busses in my session but given that I'm doing this mix with the Atmos Renderer involved, the 7.1 mix and ST Fldn are actually 7.1 and 2.0 re-renders that have been routed out of my RMU back into this session. They are about 6000 samples late so they never should be used against picture without correcting for the delay but these are typically used for client review or future reference without picture.

Session Layout & Routing
The general concept that I abide by for this kind of mixing is that my 2nd Pro Tools rig stem recorder is essentially functioning like the music rig at the dub, only that I'm printing mixes into it whilst monitoring the outputs of those stems in the same way the dub will.
Given that I'm only mixing against 1 version of picture for this project, my stem recorder session features an A/B roll of stems in a single session. When I'm done printing all of the cues for a show, the entire episode is all contained in a single Pro Tools session that is easy to zip up and send to the music editor or in the case of a project with no music editor, directly to the re-recording mixer. When working on films with only 1 or 2 picture versions, I work the same way but have a stem session per reel.
As for my primary mix rig, I output the stem layout via DigiLink into the MTRX and have a separate Pro Tools mix session per cue with all of the elements, reverb busses, etc as would be expected. These stems then route over to the 2nd Pro Tools rig and first go through busses in the stem recorder session that has some tape saturation and the safety limiters.
The outputs of these busses are then routed into the record tracks that will actually print each cue. All of the stem record tracks then sum together as the set of RMU outputs that both I and dub use, a single 7.1.2 bed and 22 object paths that are routing to the RMU. I then monitor the 7.1.4 output of the RMU as I work. As mentioned above, I'm using re-renders to send a 7.1 and 2.0 mix back to the stem recorder in addition to a 7.1 and 5.1 loudness metering re-render going to my main PT rig for metering purposes.
All of the object panning for each cue is done within each mix session on my primary rig with the pan metadata being recorded cue by cue onto a set of pan busses in the stem recorder session. This allows for a single set of master panners for the 22 objects that are being shared between the A/B set of stems.

Stem Recorder Session - click on the image for larger version
Object Pan Busses - click on the image for larger version
Object Busses & Panning Concepts
When I first began to build my templates for this project I quickly ran into an issue. Originally I thought that I would just record arm the object pan data on the audio record tracks but then realized that because I'm using an A/B roll that shares renderer objects between both sets, I could only record pan data in one place. Therefore I decided to record the pan data onto a set of busses at the top of the session that would record the pan data for the 22 objects that are being utilized by both sets of stems. When I come across 2 overlapping cues, I simply need to smooth out the panning between the 2 cues after I record the pan position for each cue.
When deciding what to actually use the objects for, cue by cue, I'm finding myself mostly statically panning synths and keyboard elements around the room and leaving them in place for the duration of the cue. This helps create an immersive feel to each cue without being too distracting with elements actually dynamically moving around though I have had some fun with the Atmos Music Panner on some arpeggiated synths in an action cue.
I'm also thinking ahead that if there's ever a conform to do on any of these episodes that it will be simpler to conform pan automation that stays the same for an entire cue instead of trying to fix edits made to pan data that is dynamically moving during a cue. Even just having 2 pads panned roughly in front and back with some height data and a little size really expands the immersion of a cue, sometimes that ends up being all I use the objects for in a cue.
Feedback From The Dub
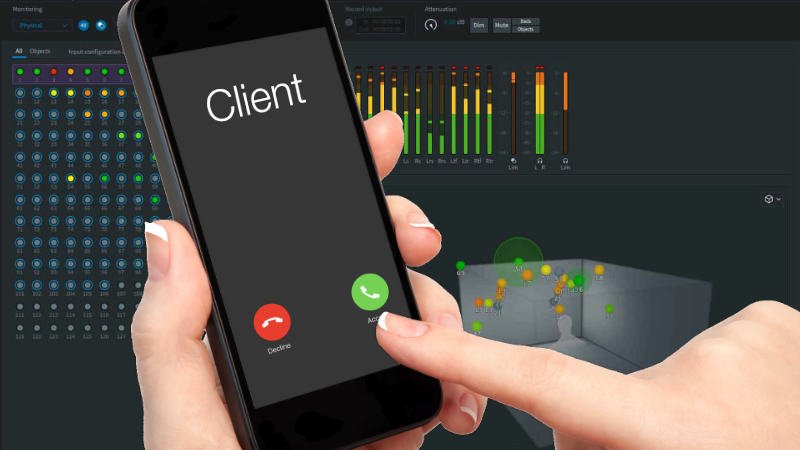
So far I have mixed 2 episodes of this show in Atmos and the Re-Recording mixer has been very pleased. This whole process of course started with several conversations I had with him to make sure this was an idea that was going to work. I would never deliver such a different music mix without first consulting the re-recording mixer ahead of time.
Here's what Re-Recording mixer Eric Hirsch has to say:
“Since there’s so much to do at the final mix, having the music delivered in a way such that the panning is all thought out ahead of time saves us a huge amount of time. You might think mixing a relatively wide layout of objects and beds would be much more complicated and cumbersome but in fact the music has probably been the easiest part of the mixes. Often when 7.1 or 7.1.2 stems are delivered to the stage they’re just upmixed stereos, so to have a true Atmos mix is way more interesting and satisfying than that. It’s also nice to know that we are able to faithfully present Phil and Saunder and Danny’s vision of how the music should be, as opposed to trying to come up with something ourselves, which may or may not be what they would have wanted. Often there’s limited communication between the score mixer and the re-recording mixer, so it’s been great to be on the same page."
Potential Pitfalls & Limitations
For this project, this system has been working wonderfully but that's not to say that there are some potential pitfalls with adding the complication of pan data to a score mix delivery.
First and foremost on my mind is what Music Editors may have to handle should there ever be a heavy conform of a reel or episode using a delivery like this. They would have to be extra careful to edit the pan busses whilst editing stems and making edits on individual stems would also require being aware of what pan data corresponds to that stem for that cue. I have spoken to some Music Editors on larger films where the score was mixed in Atmos and they alluded to the fact that it was a bit of a mess but I'm not sure how the score mixers were delivering their mixes to the Music Editor and the dub on those projects.
As I mentioned earlier in this article, if I were to work on a film or TV show that was likely to have heavy conforms or need a lot of music edits to satisfy a picky producer or director, I'd probably shy away from using flexible objects and would stick to static objects that will stay panned in once place for the duration of a project. This would allow Music Editors to not have to worry about pan automation and could cut music the same way they would if it were just a handful of 5.1 or 7.1 stems in the way we've been delivering score mixes before Atmos.
I'm also aware that should this show get a 2nd season, a lot of season 1 cues will likely need to be edited into future episodes and the composers of this show probably will not want to deal with trying to figure out what my object pan data was. Given that I'm largely just taking elements and placing them in a static position for the duration of a cue, I will likely just re pan objects for reused cues. This eliminates the need to try recall any automation data and potentially might give a slight fresh take on older material that is being reused in future seasons.
Conclusion
In the end, this system of delivering Atmos score mixes has worked very successfully for this show and I think this will be a great option for certain future projects. Given the added complication with the potential need to edit pan automation in addition to music stems, I may hesitate to use it on more editorially complex projects but I'm excited to be able to dip my toes into the Atmos world and have some fun in this great new(ish) format.