
We've been able to customise the previously fixed Pro Tools keyboard shortcuts since Pro Tools 2022.4. Hit Control+Shift+K on a Mac or Start+Shift+K on a PC (provided you haven't already remapped that shortcut!) to open the Keyboard Shortcuts Window and create your own. I must admit that I was a long time proponent of fixed keystrokes in Pro Tools. In the days of tape an engineer could visit an unfamiliar studio and, while the details might change between studios, they would recognise the basic operation of the equipment in front of them. Being able to rely on Pro Tools keystrokes being the same regardless of the system you work on was a significant benefit to those people who had a thorough knowledge of Pro Tools keystrokes, forming as it did a common language in a similar way to the days of analogue mixers and tape.
Being able to remap keystrokes removes a barrier of entry to people who aren't familiar with those default Pro Tools keystrokes. If for example you are a Logic user you can bring your Logic shortcuts with you, an obvious benefit of this system. However there are more benefits to the introduction of the Keyboard Shortcuts Window than just avoiding learning Pro Tools keystrokes.
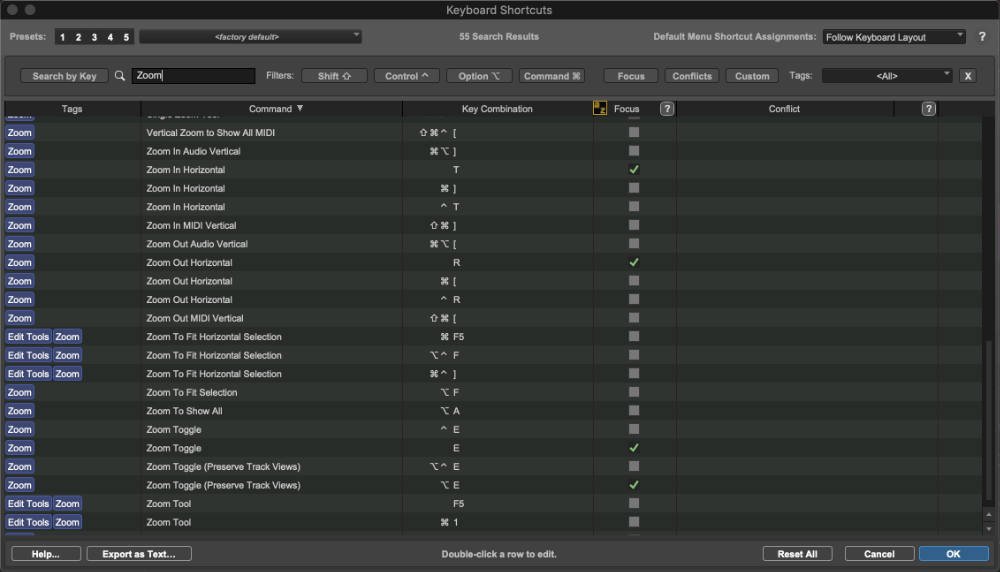
There are some compelling reasons to check out the Keyboard Shortcuts window even if you have no intention of creating any custom keystrokes of your own. The first is that with the very efficient search functions introduced by the Keyboard Shortcuts window it is now possible to quickly find existing default keystrokes that you don't already know. Anyone who has tried to use the keyboard shortcuts PDF which is part of the Pro Tools documentation will know how that is to use. Being able to search either by keystroke or by function in the Keyboard Shortcuts window is an easily accessible mine of useful information. Try it!
An interesting aspect of customisable keystrokes is that the specifics of which key you press to quickly access a function is of lesser importance today than which function you find important enough for it to be beneficial to use a keystroke. After all, the point of a keystroke is to do something more quickly and inevitably the more often you perform a particular action the more time you save. There's little to be gained by memorising a keystroke for something you rarely or never do.
So after having considered why keystrokes are useful beyond the basic bread and butter keystrokes which frankly you have to know to operate Pro Tools without it becoming painfully slow, which keystrokes do we find useful enough to credit a special mention in this article?
Ten Shortcuts For Professionals
Pro Tools keystrokes are of course a huge subject and if you're looking to learn some useful keystrokes the place to look these days isn't in a blog article, it's in the Keyboard Shortcuts window. But assuming that you know the basics, things like the keystroke to toggle the Mix and Edit windows, how to return to the beginning of a session and how to drop a marker, which Pro Tools functions would professionals highlight as being particularly useful during a busy session or mix? Of course we can’t hope to create a definitive list but here are some of the suggestions which came back when we quizzed the audio professionals which constitute our team of contributors:

Create New Playlist Ctrl+\
Pro Tools allows things to be done faster and there are a few places where this is more conducive to great results than during a tracking session. With an experienced operator the technology can become almost invisible and with the physical constraints of tape firmly consigned to history, being able to keep a performer in the zone, capturing takes until the best performance possible is recorded, is made far easier with this simple keystroke - Ctrl+\ (Start+\ on Windows).
Colour Pallete
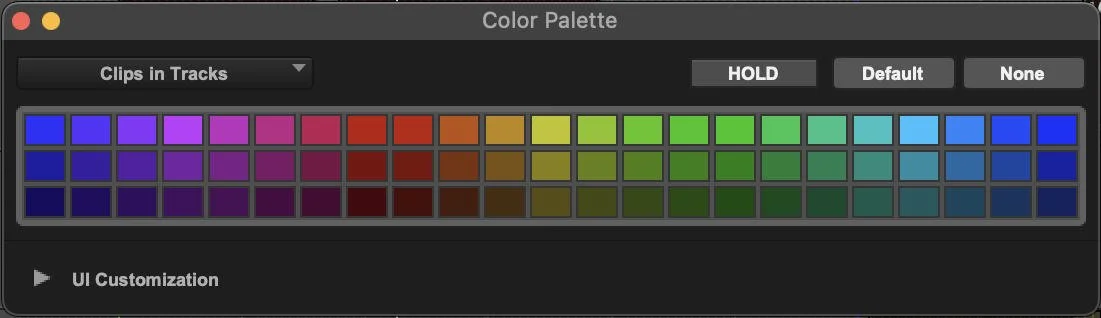
Visual feedback is one of the principal benefits of moving audio out of dedicated hardware and into a computer. Colour is central to this and it's always been something of an omission that there isn't a keystroke assigned by default with which you can open the colour palette. For track colours you can double click the track header but there's so much more to use of colour than just colouring your tracks. Taking control of colouring clips rather than leaving it to the auto assigned defaults can be a rich source of additional information and since the UI customisation introduced in Pro Tools 2021.6 having quick access to this Window is more than just a way to colour your tracks. Our Contributor Robbie Dwyer uses a custom keystroke of Opt+Ctrl+C for this.

Consolidate Selection With 1KHz Sine - Ctrl+Shift+Alt/Opt+3
Consolidate selection Is one of the fundamentals of Pro Tools, rendering a clip on the timeline to a file on disk. A related function is to consolidate an edit selection to a -20dB 1kHz sine wave. This feature was undocumented for a long time but if you search by keystroke in the keyboard shortcuts window you will find it as ‘Consolidate selection (with signal generator)’. While you can use this for obtrusive bleeping of profanities it's much more useful as an instant audio source for troubleshooting routing issues and finding problems with gain structure. I found I've used this a great deal for many years but it definitely made the list when it was also suggested by James Richmond.
Change Nudge Value - CMD+Opt+Plus/Minus
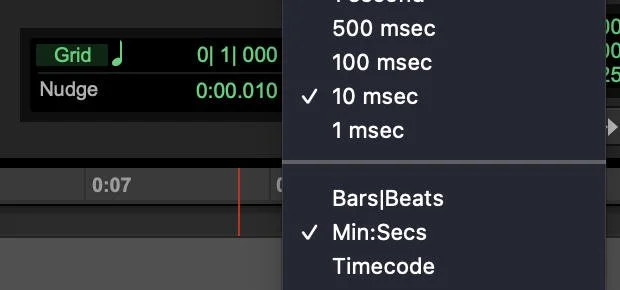
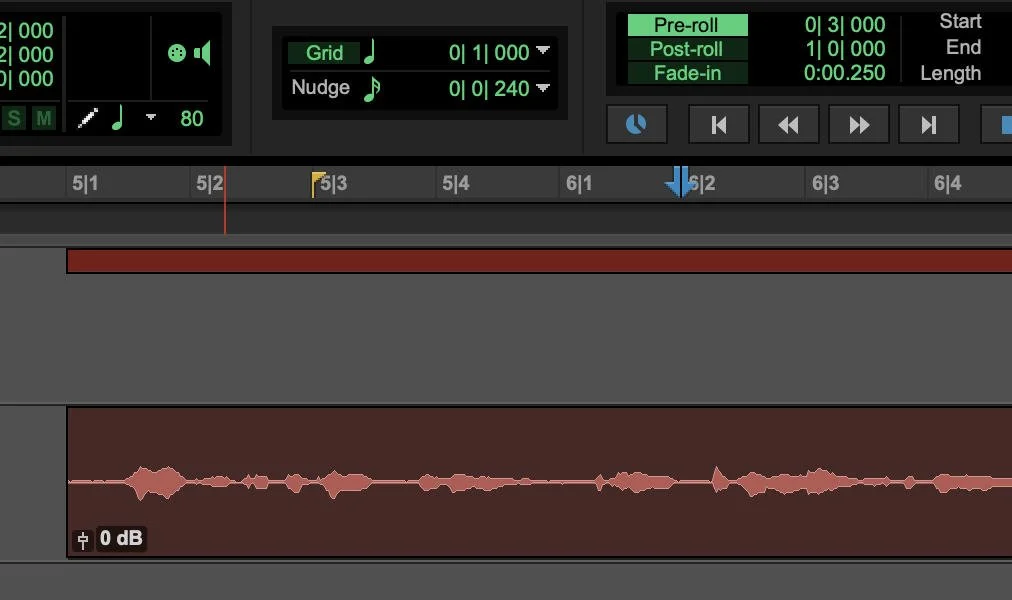
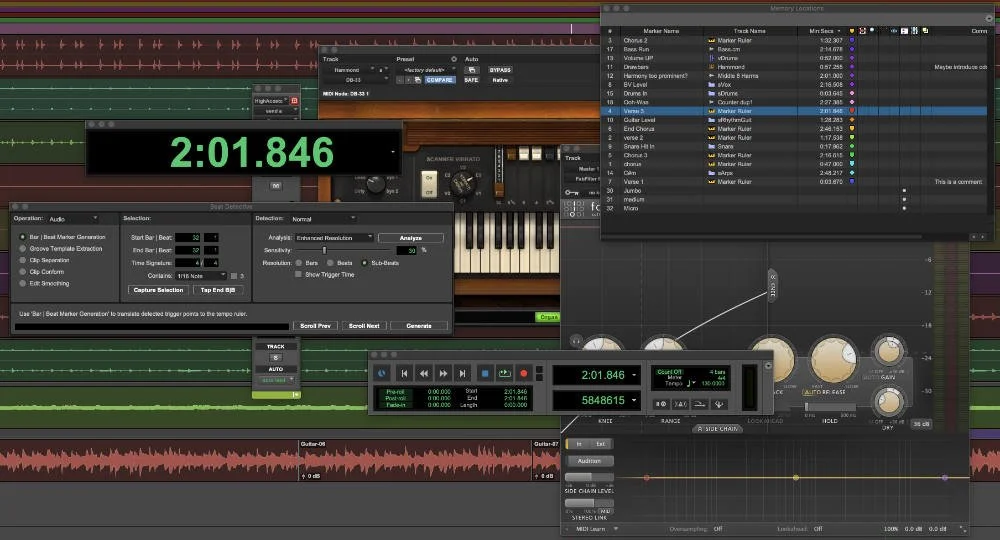
There are lots of ways to place a clip exactly where you want it in Pro Tools and often techniques like snapping a clip to the playhead using Control+Click (Start+Click on PC) or using Spot mode will get you where you need to be. but sometimes the only way to place a clip is to do it by ear and at times like this nudge can be very useful. By working to progressively finer and finer nudge settings with timeline and edit selections unlinked it is straightforward to place clips which lack clear transient information with which to place them visually. This is made far quicker by using the shortcut Option+Command+plus/minus to change the nudge setting from the keyboard. This works using either the Number Pad or alphanumeric +/- keys, unlike the related keystroke for changing grid settings which uses Control+Option (Start+Alt) +/- which only works using the Num Pad +/- keys.
Audition And Pre-Roll
Having the shortcuts associated with pre-roll really speeds up the process of dropping in. There are a couple of must-haves here. Firstly toggling pre-roll on and off using CMD+K (Control+K on a PC) has to be under your fingertips as if you’re anything like me you will forget to switch pre-roll off before returning to regular playback duties (and vice-versa). Secondly setting pre and post roll is infinitely faster if instead of setting it in the pre and post roll fields In the toolbar you Option+click in the track playlist. However if you've ever found yourself explaining to the singer where the drop in is and how much pre-roll you're going to give them, instead consider using Audition. Using alphanumeric 6 7 8 and 9 you can audition just the pre-roll (6), the beginning of the Edit selection (7), the end of the Edit selection (8) and the post-roll (9). It is the first of these, pressing 6 to audition the pre-roll that I find I use most regularly. Rather than saying I’ll pick up from this line with a bar of pre-roll I just say I'll drop you in from where this ends, hit 6 and let them hear it.
Cascade Selected Inputs/outputs - Shift+Option+CMD
For anyone who is still setting up sessions assigning inputs and outputs track by track there is a quicker way. The standard use of option for ‘do to all’ and option shift for ‘do to selected’ can be extended when it comes to assigning inputs, outputs and bus assignments for track IO and sends by using the cascade function. If you need to quickly assign a set of inputs for multiple tracks with each track having the next available input, then holding command and option and selecting the first required input will cascade the inputs across all the tracks. Adding Shift is far more useful in my experience allowing you to select a range of tracks and holding Command+Option+Shift to cascade inputs or outputs from the first to the last selected tracks a huge time Saver when setting up or changing something in your session.
Suspend Groups - Shift+Command+G
If you use Mix and Edit groups then this shortcut has to be under your fingertips. We've all had the experience of forgetting a Group is on and having a bunch of other stuff happen when we move a Fader or select a Clip. While mixing, if you're not yet using a control surface with faders, you can temporarily suspend the grouping of faders by holding Control (Start on a PC). However while toggling groups on and off can be quickly achieved, particularly if you assign keyboard Focus to Groups (CMD+Opt+3) from where you can toggle Groups on and off using their group ID letter, the fast and ‘always works’ alternative is to suspend Groups using Shift+CMD+G (Shift+Control G on a PC). Just don't forget to hit it again to re-enable the Groups.
Toggle Floating Windows - Ctrl+Opt-CMD+W
Floating windows, which can include plug-in windows, the Transport window, the Memory Locations window, the Automation window, the list goes on, can accumulate quickly to the point where they're obscuring the useful stuff like the Edit window itself. If you're really organised of course you'll have these assigned to Window Configurations and be flying around your session with ease. However if you're like the rest of us, rather than clicking around all of these plug-in UIs and floating Sends to close them, just hit CMD+Opt+Control+W (Start+Alt+Ctrl+W on a PC) to hide them all in a single action. The best part is that rather than closing all these windows it's toggled them, meaning that if you repeat the keystroke they all come back again allowing you to clear your screen of clutter, do what you need to do and pick up again from where you left off.

Open/Close Melodyne Editor - Opt+8
ARA Integration of Melodyne was a long time coming in Pro Tools but now it's here the ARA workflow is one of those never going back moments. One of the greatest benefits of ARA in Pro Tools was that tuning vocals is no longer a separate and distinct task from mixing in Pro Tools, allowing you to jump in and out of Melodyne whilst mixing, as the need arises. The docked Melodyne editor makes this easy but to get the most out of it first commit this pair of keystrokes. To open and close the Melodyne editor hit Option+8. To get enough room to work effectively, rather than awkwardly hovering the mouse over the join between the editor and the Edit window to grab it, just hit Control+Option 8 to set the Melodyne editor to its maximum height. As long as you've got the first keystroke down then toggling it out of the way again is equally quick. A point here is that while the open/close editor keystroke works with either the number pad 8 or alpha numeric 8, the keystroke to set the Melodyne editor to maximum height only works with the alphanumeric 8.

Half-Speed Playback - Shift + Spacebar
This shortcut is usually discovered by accident and the resulting octave-down, half-speed audio makes even the most upbeat pop song sound morose. Half speed playback might be amusing but it's useful too. It comes into its own when trying to nail automation moves. If you find you’re missing your mark then buy yourself some time by writing automation at half speed. If you're still missing the move then try again using Back and Play. You can access this quickly without interrupting playback by holding Option+CMD and hitting the left arrow.
What About Your Suggestions?
So there are 10 suggestions, there are so many more. What would you have included on your list? Please share them in the comments below.
