Each week we publish free video tutorials to show you different ways to use Waves plug-ins across a wide variety of music mixing applications. We have created these bite sized video tips to inspire you to try something new and creative in your next production.
If you are not a Waves plug-in user don’t despair. All the skills and tips we’ve featured in this ongoing series of free video tutorials are easily transferable to any comparable stock or third party plug-in you have in your digital mixing toolkit.
Check out the Waves website for more information on Waves plug-ins.
Below we have listed our most recent 60 free videos tutorials that we’ve published. You can also browse through our full catalog of over 150 free Waves tutorials.

In this article we explore four different ways you can use to process the dynamics of your lead vocals. Each of these approaches can be used individually on a lead vocal track, you could also blend several of these together to produce great sounding vocals in your next mix.

In this four part free video tutorial series, brought to you with the support of Waves, we show you four plug-ins that can quickly transform your vocal tracks into radio ready mixes. In this article we will be taking the same vocal performance and working on it four different ways to help you hear the differences in sound and style between the four plug-ins.
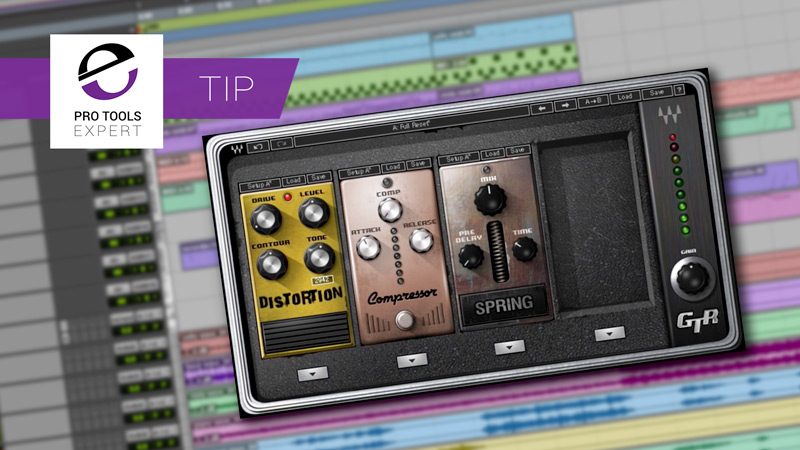
In this video we demonstrate the power of three stomp boxes on a room channel within a live multitrack drum recording. We use distortion, compression and spring reverb, watch the video to hear how this effects chain sounds in the context of the full drum mix.
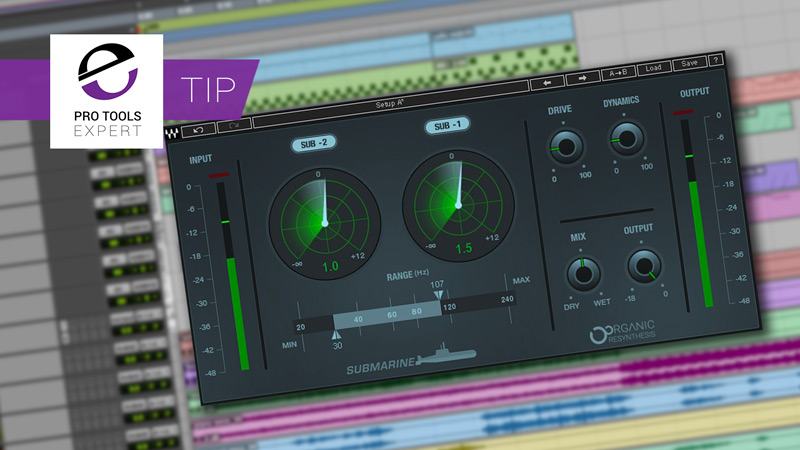
In this free video tutorial, brought to you with the support of Waves, we take a quick look at Waves new sub harmonics generator plug-in Submarine. In this video we test Submarine on a kick drum in desperate need of some extra oomph.
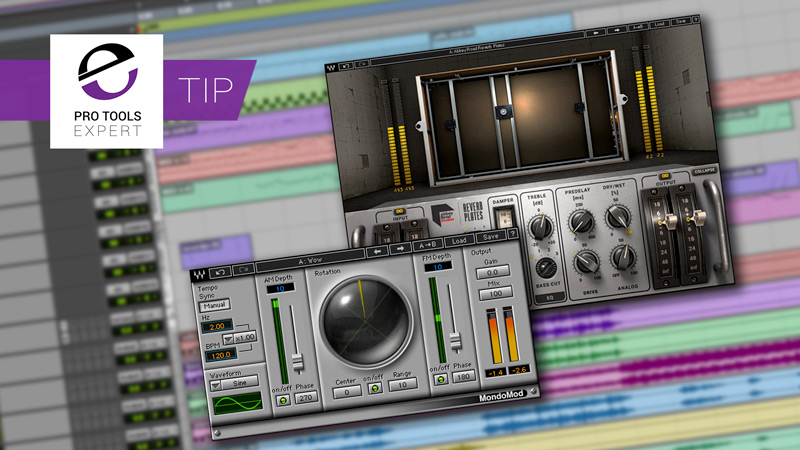
Many reverb plug-ins include some form of modulation effect. Dialling in small amounts can help make reverbs sound deeper and wider though not all reverbs have this functionality such as Waves Abbey Road Plates. To be able to modulate your reverbs you need to insert a modulation plug-in, such as Waves Mono Mod, into the chain.
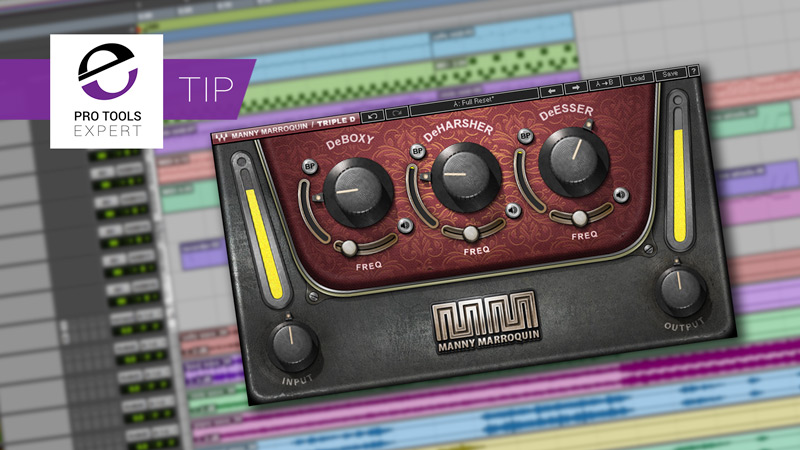
This smart tool provides three simple to set processors that together quickly focus and attenuate common audio issues including sibilance, harshness and mid range boxiness. Each of the three processes includes controls for amount, bypass, audition and frequency selector.

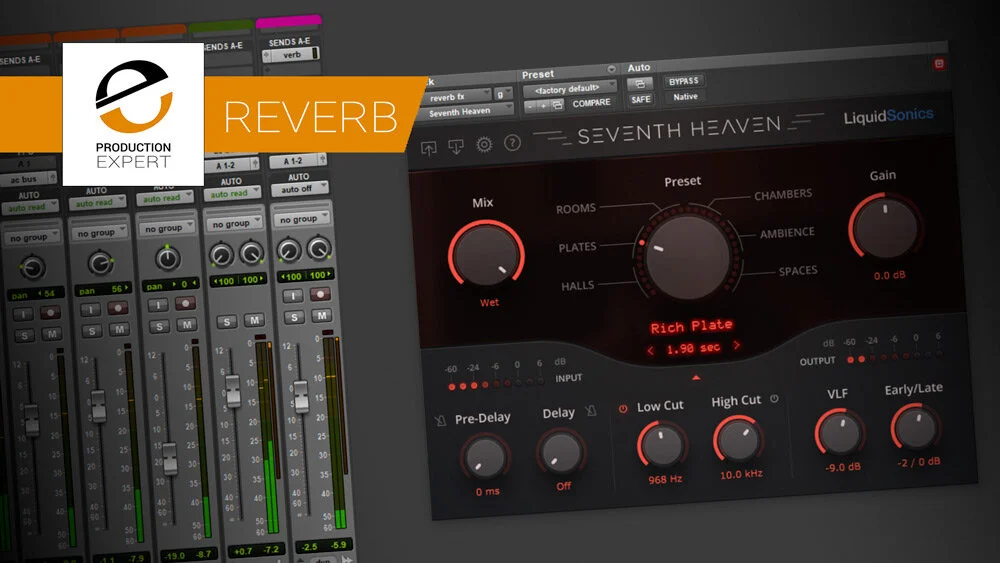
In this free video tutorial, brought to you with the support of Waves, we show you a simple way to de-mud your reverb effects. Reverbs have a tendency of cluttering up a mix but don’t blame the length of the tails, often it’s the overall tone of the reverb that is upsetting the balance. A super simple way to address this is by reaching for the tone controls in a reverb plug-in or better still, using a dedicated EQ plug-in in the effects return.

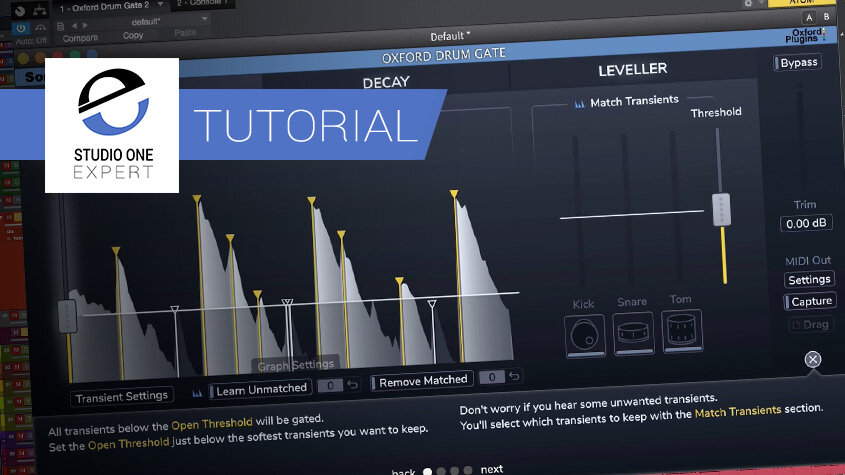
In this video we show you how to not only setup the gated reverb on an effects return but also how to change the tone and attitude of the send that feeds the overall gated reverb effect. Gated reverbs lend themselves very nicely to snare tracks, watch this free video to hear this effect in action using Waves GTR Stomp Boxes and C1 Gate.

In this free video tutorial, brought to you with the support of Waves, we show you a very simple way of injecting some instant attitude into your reverb effects. Break free from the comfort of natural sounding reverbs, experiment with this creative technique as the results are explosive. In this video we show you how you can make a safe sounding 808 snare sample jump out of the mix using a reverb feeding into a distortion plug-in.
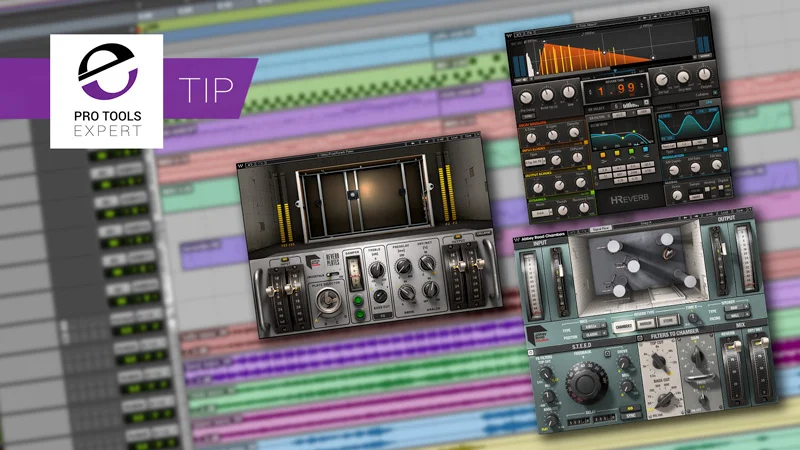
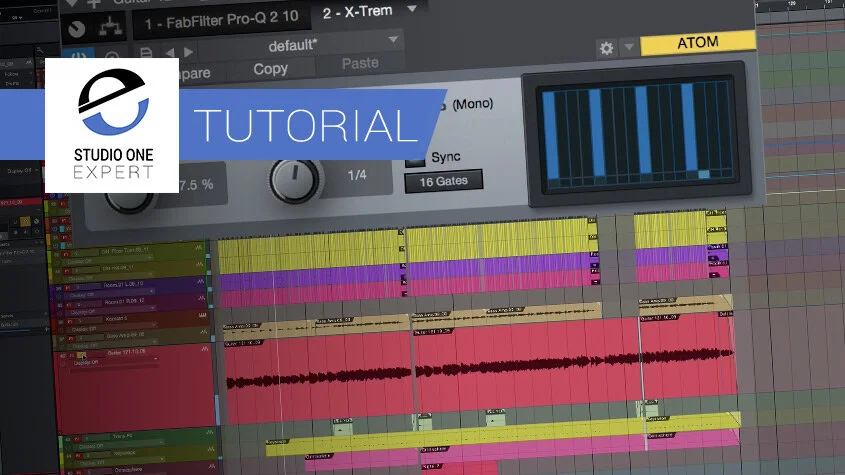
In this free video we show you a simple reverb trick that you should be setting up in your DAW before you dig into any mix. Try loading three different styles of reverb each with their own stereo effects return. In the mix blend a little bit of each style of reverb across key tracks in your mix. Try to avoid using just one reverb in a mix as unsurprising you’ll only get one sound. Multiple reverbs, all with their of unique timbres, will provide you with immediate access to a pallet of ambiances and colours that together will help you to add instant depth and interest to your mixes.

In this free video tutorial, brought to you with the support of Waves, we show you a cool little production trick, which you may not have used in your vocal mixes. Have you ever tried inserting a hard and fast Auto Tune effect before a delay plug-in on an effects return? If you’ve yet to try this, watch this free video tutorial to learn how to set this up and to hear how this effects chain sounds in a mix.

Waves' "The King's Microphones" isn't in our opinion the best plug-in Waves have ever released. On its own as an insert it can sound too aggressive limiting its broad appeal, however, set it up in parallel and the usefulness of this unloved plug-in starts to become very apparent.
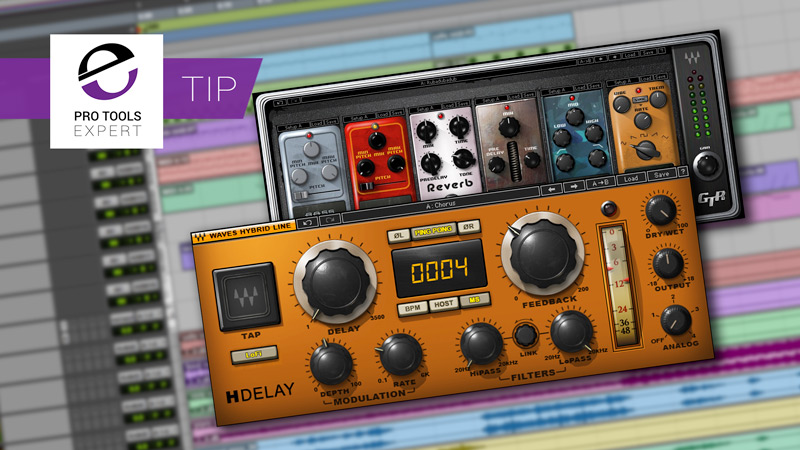
Do you use Waves H-Delay in your mixes? Did you know that you can quickly inject more fun into your H-Delays using Waves GT-R Stomp boxes? Check out this quick tip video to hear fuzz, octaver and wah broaden the stock H-Delay sounds in seconds.
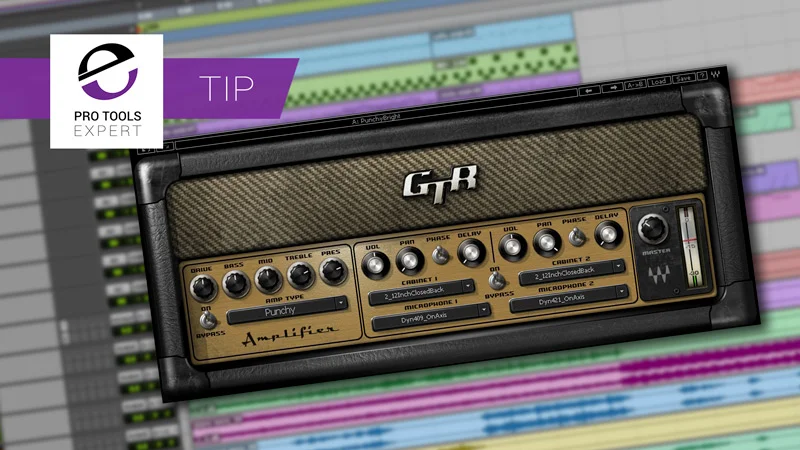
In this free video tutorial, brought to you with the support of Waves, we show you a super simple way of adding interest and edge to the tone of your vocal tracks using a touch of guitar amp plug-in processing. In this rock track we use Waves’ excellent GT-R plug-in on an effects return to make it quick and easy to dial in the perfect amount of edge to the lead vocal, watch this short free video to hear this in action.
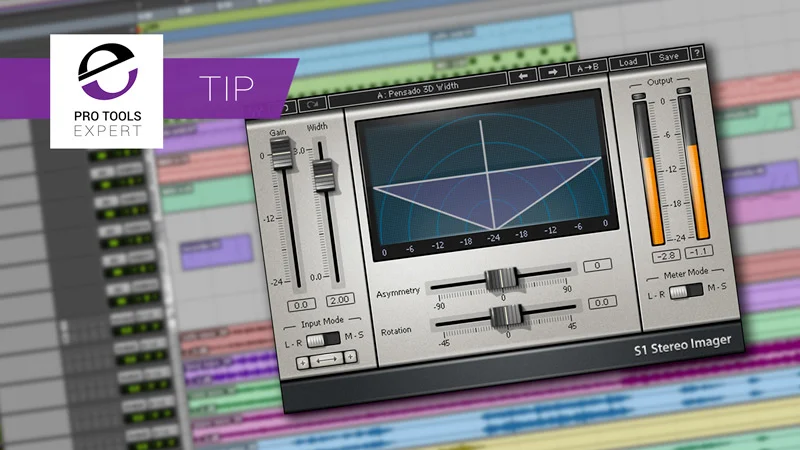
Backing vocals often get lost in the mix, an easy way to represent them without increasing the volume is to spread them into the edges of the stereo field. In this example we’ve got 4 backing vocals, bused to a sub mix, two of which are panned hard left and right. These sound reasonable enough but they could do we some extra stereo reach to sit better in the mix. This is easily achieved with the S1’s Width control.

In this free video tutorial, brought to you with the support of Waves, we show you how to shape the dynamics of your lead vocal tracks in seconds using dual compression in Waves MV2 Plug-in. In a previous video I showed you a way to mix your lead vocal tracks with two compressor plug-ins, Waves CLA-2A & CLA-76, in this video we show you an alternative way to dual compressor your vocals using this, waves MV2.
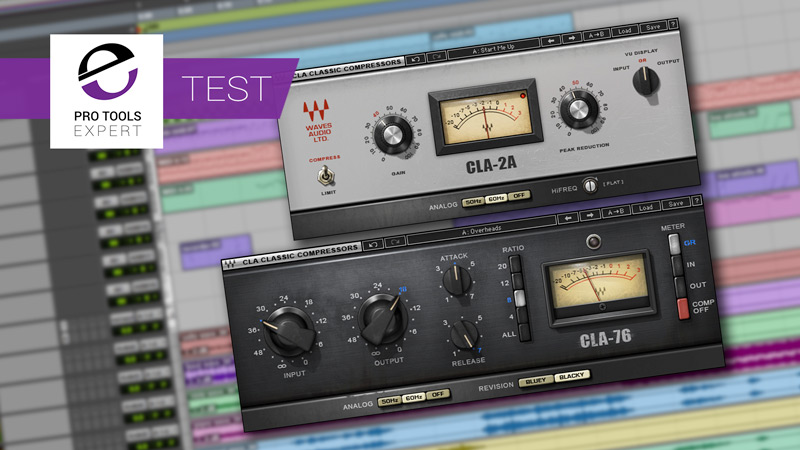
In this video we demonstrate this popular vocal mix trick on a lead vocal track in which some of the notes in the performers lower register sink beneath the density of the mix where their loud notes poke out too much. Learn how two compressors together can really help to “spread the loud”

I’d like to see a show of hands… Who uses Waves H-Delay? It’s a personal favourite of mine - I’ve yet to find a better plug-in for delay. There are those types of mixes when reverb seems to do more harm than good, especially on lead vocal tracks as medium to long reverb tails can quickly “blur the lines” of definition within the bigger picture of the mix. A fantastic alternative to use instead, or with a small blend of reverb, is delay as you can stamp a subtle tone or shimmer to a lead vocal without the effects bloating out the mix. We show you how in this quick tip video.
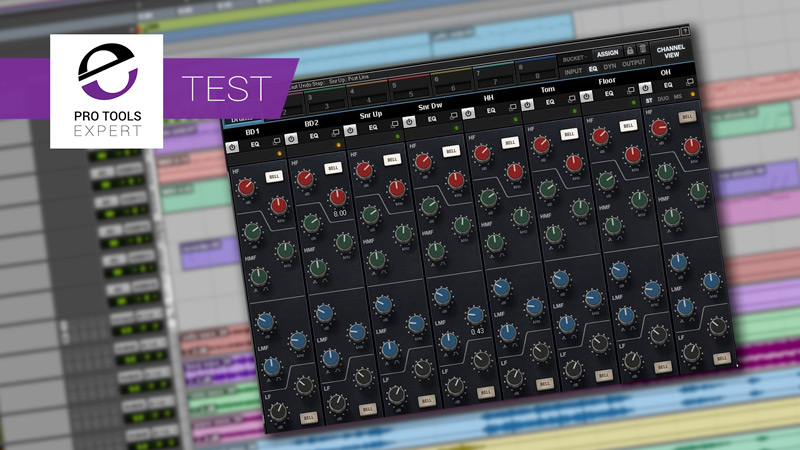
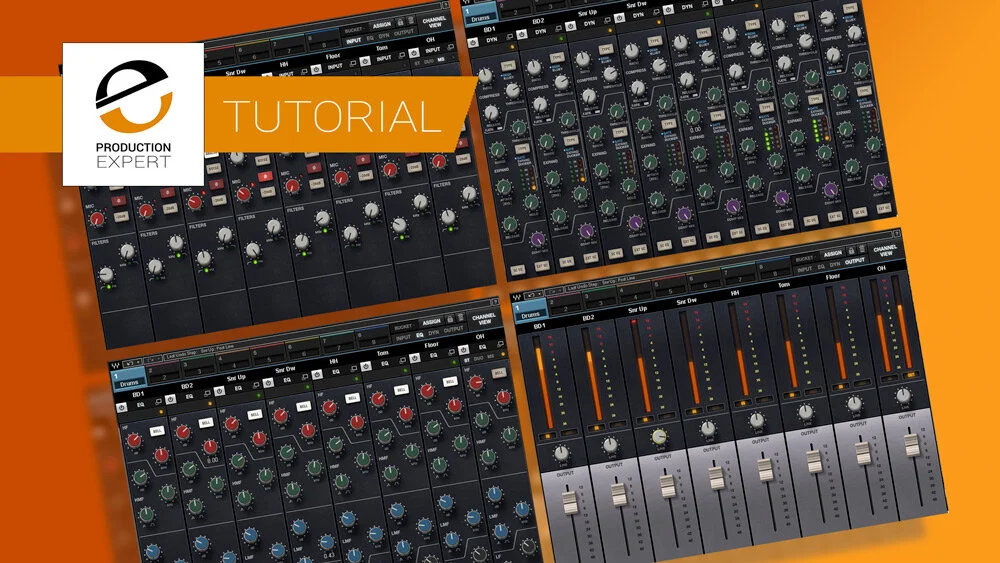
Typically when working with multiple instances of console emulation plug-ins we work through a mix on a track-by-track basis only viewing one set of EQ controls at a time, not anymore. The bucket view in Waves CLA MixHub enables us to view up to 8 channels at a time making EQ in plug-in form feel more realist and true to analog console workflows of old.
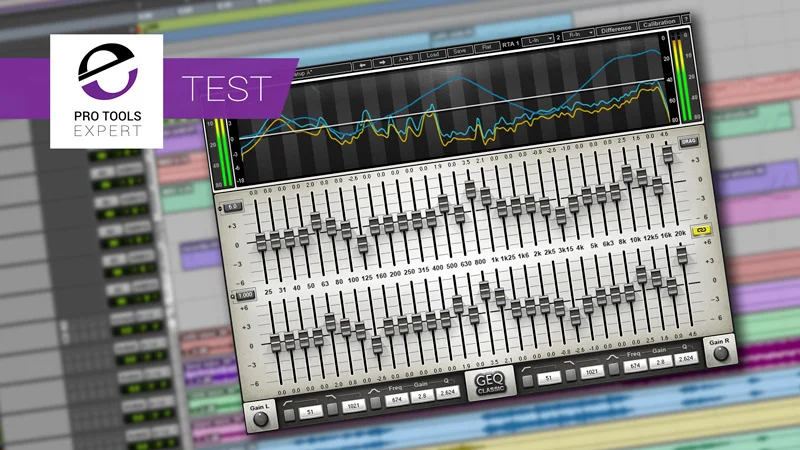
30 bands of EQ? Surely that’s overkill? Watch this free video to hear how Waves GEQ CLassic quickly improves the overall tonality of a dull sounding mix. Does Waves GEQ have some of that mix bus magic we’ve been looking for in this series??? Watch and find out…

Watch this 2 minute video to hear how the Manny EQ by Waves can breathe life into a muddy mix in a matter of seconds.

In this free video tutorial, brought to you with the support of Waves, we demonstrate the power of Waves Abbey Road REDD 17 console emulation on a drum bus.

In this free video tutorial, brought to you with the support of Waves, we demonstrate the power of Waves API 560 EQ plug-in on a master.

In this free video tutorial, brought to you with the support of Waves, we demonstrate the power of Waves Manny Marroquin Tone Shaper plug-in on a master.

H-Comp combines modelled transformers, tubes, and transistors, together with the power and precision that only a plug-in can provide. H-Comp is a compressor with spades of attitude and grit. It can be used as subtly or aggressively as you want. The release sync mode and punch dial make H-Comp unique providing a vast pallet of dynamic styles that are effortless to set.

In this free video we demonstrate the power of Waves Vitamin multiband harmonic enhancer plug-in on a master. In this video you will hear how Vitamin lifts the tonality of a muddy mix in seconds.
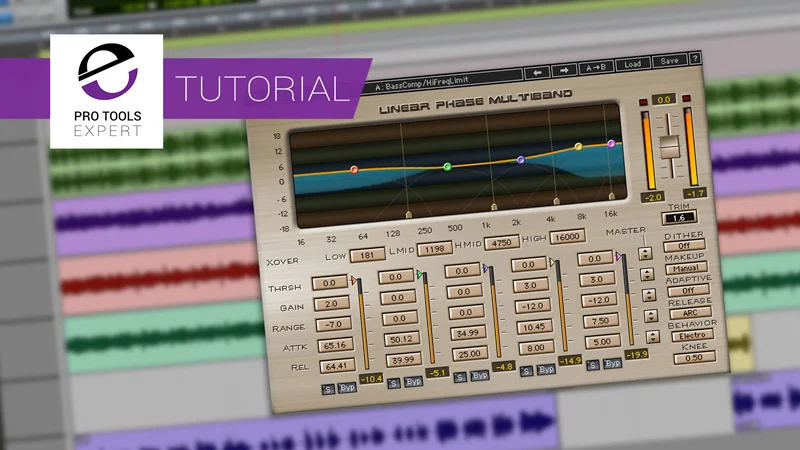
In this free video tutorial, brought to you with the support of Waves, we demonstrate the power of Waves’s mighty Linear Phase Multiband plug-in on a master. We’ve looked at several very good plug-ins by Waves in this series, we can not continue our search for the best mix bus plug-ins by Waves without taking a look at this… Waves Linear phase multi band, named LinMB for short, it’s an oldie, but a goodie.
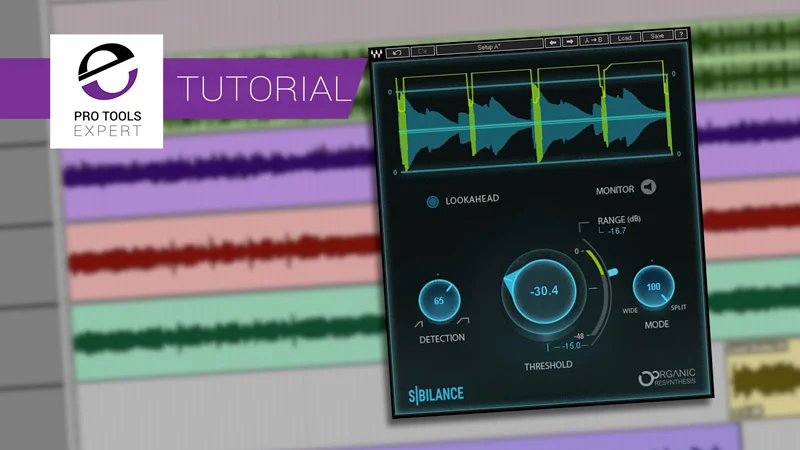
In this video we show you around Waves Sibilance. We put each of its controls to work on a harsh sounding voice over recording. Sibilance is smart. It automatically detects the harshness in sound saving us time dialling in the frequencies causing issues in our mix. Watch the video to hear this in action and to learn how to use Sibilance .

In this 2 minute video we demo CLA MixDown. The key to getting the best results from CLA MixDown is by applying extremely subtle amounts of each control. Top Tip: Don’t forget to balance the output level when comparing your unprocessed mix with your CLA MixDown processing.
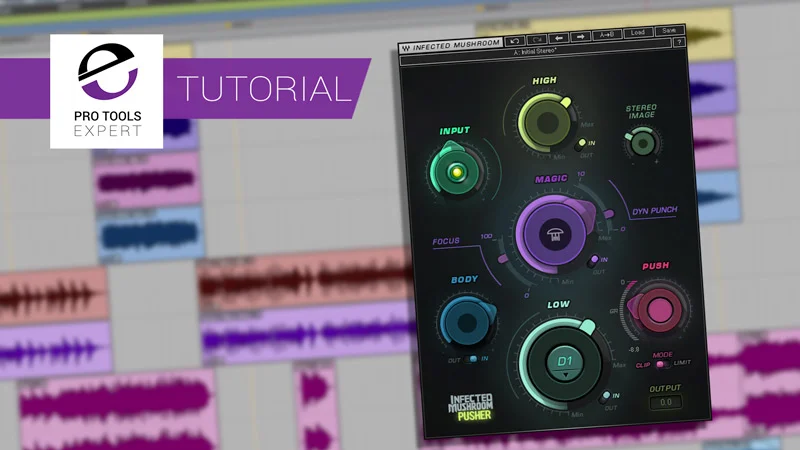
Made in collaboration with the EDM production powerhouse duo Infected Mushroom, Pusher provides an easy to use toolset of enhancer processors which enable users to quick impart sheen and weight to mixes. In this video we use Pusher to bring up the low mids in a mix as well as the overall presentation and vibe.