Pro Tools GrooveCell is the sample-based drum machine in Pro Tools that allows Pro Tools users to play back audio on pads and with the inbuilt sequencer. In this article, we give you three ways to chop up audio for use in GrooveCell and other sample players.
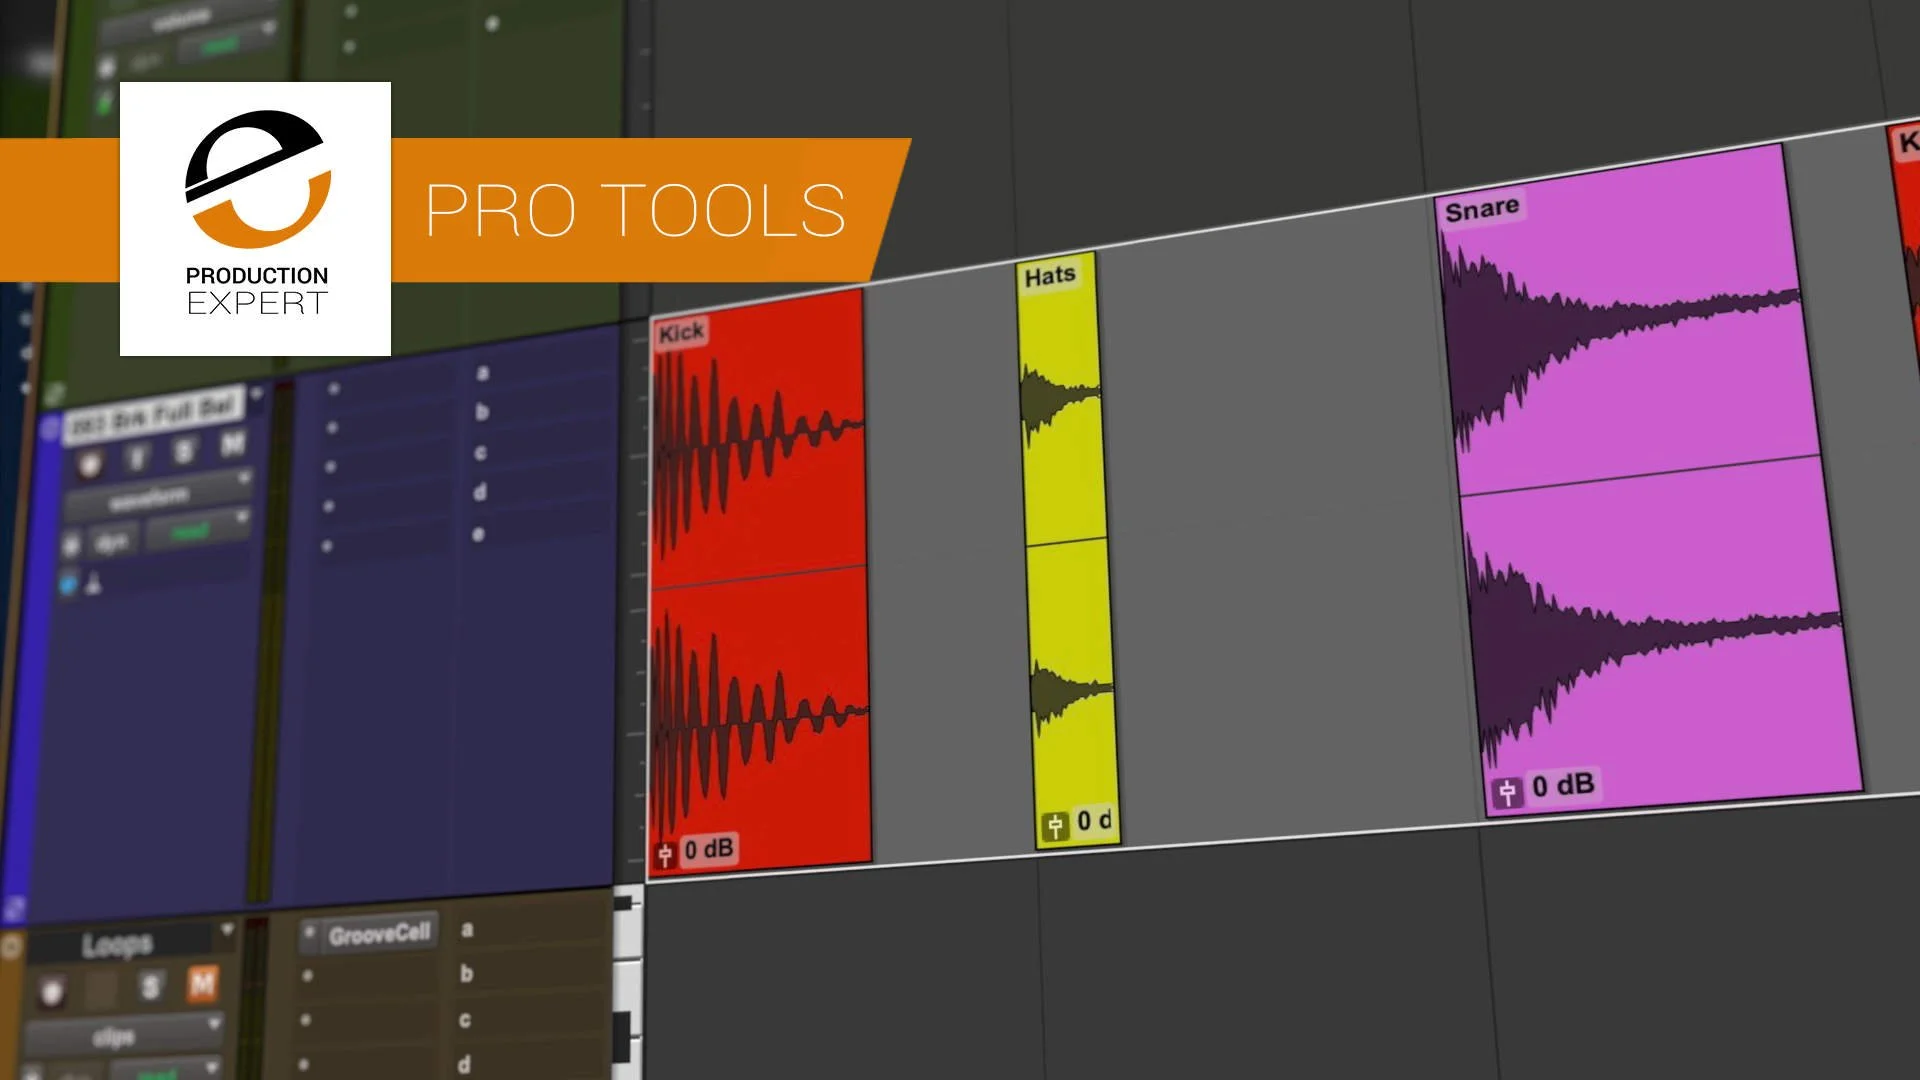
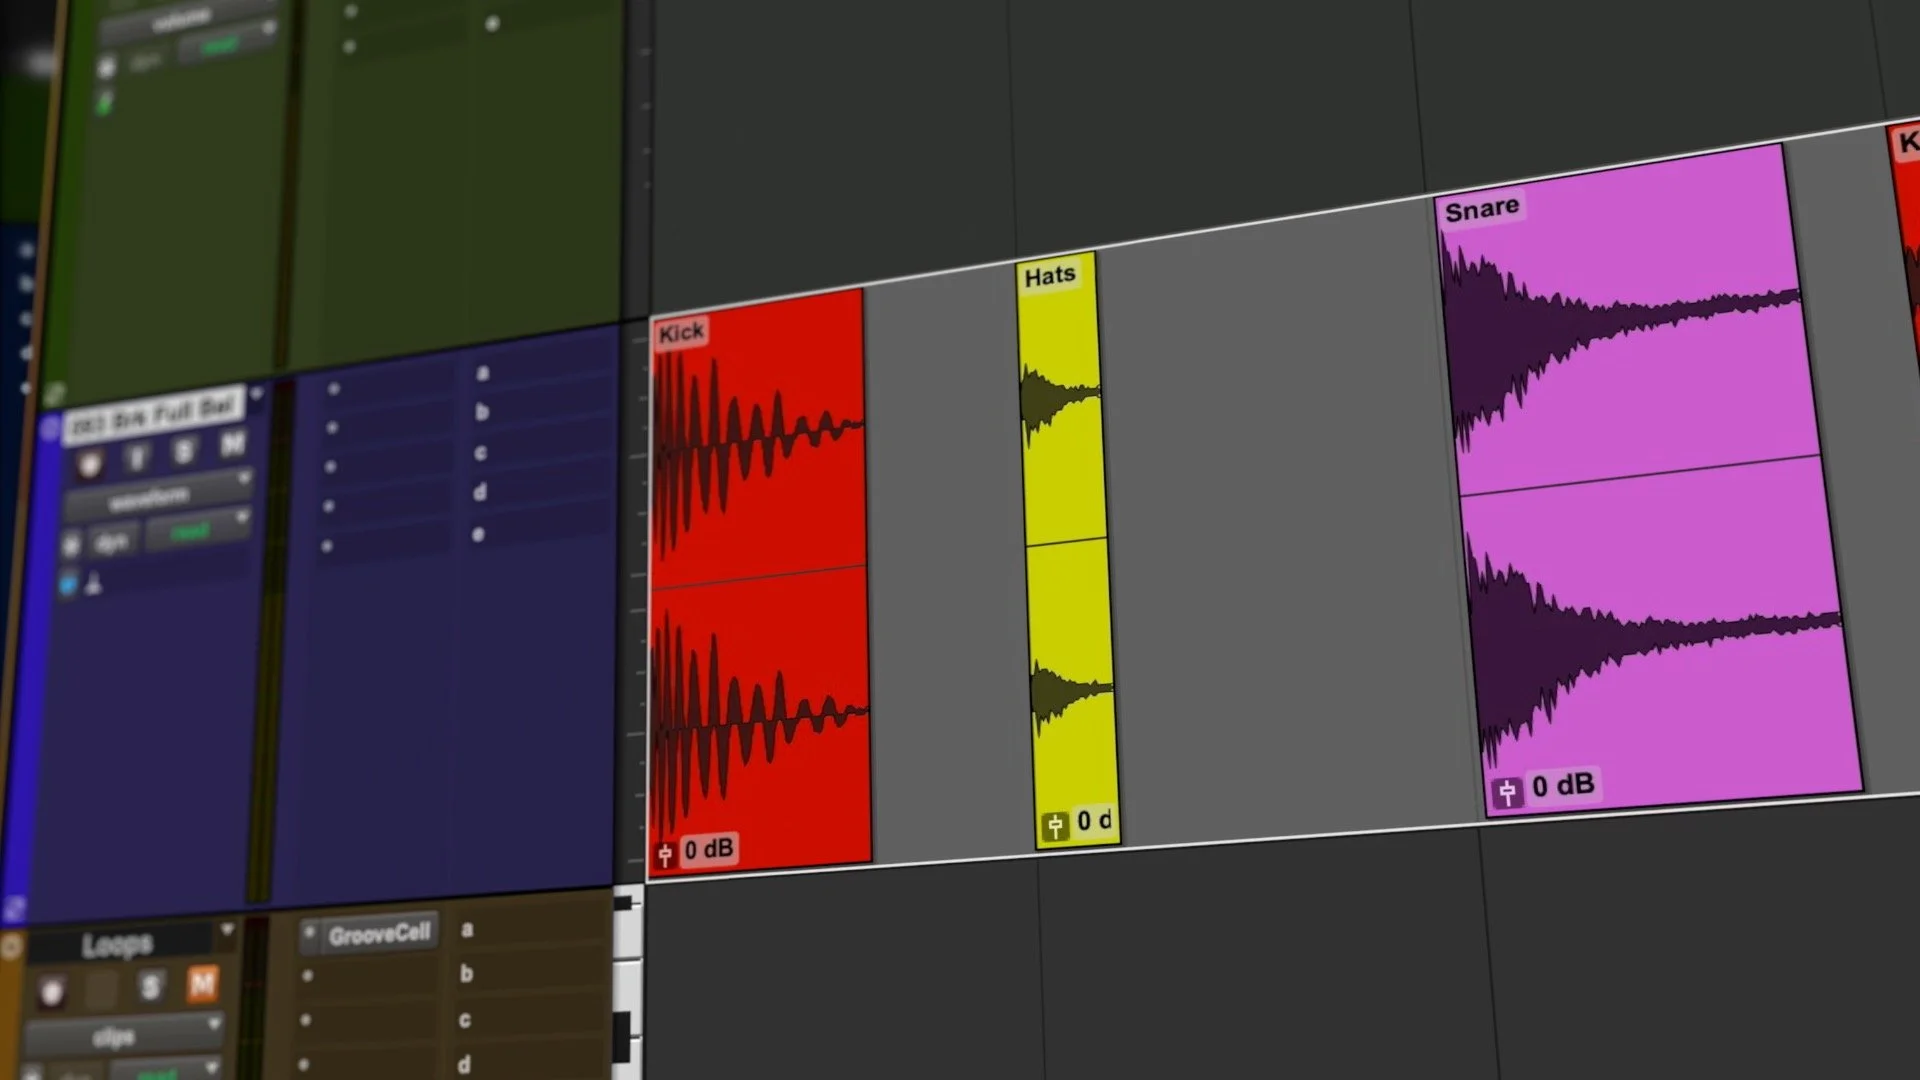
First, let’s look at cutting up the audio. There are three ways to cut up the audio on the Pro Tools timeline.
Tab To Transient
A long established feature in Pro Tools, tab to transient, does exactly what it says on the tin. As you hit the tab button on the keyboard, it moves to the next transient of the audio selected on the timeline. It has no settings for sensitivity. However, it is remarkably good at finding the right transient point in the audio.
As you tab, you can separate the clip using the keyboard shortcut Command E (Mac) or Control E (Windows). If you want to audition the audio as you cut it, then use the L or “ keys to move back and forth on the timeline to audition the clips.
Separate Clip On Grid
The second way to chop up audio for use in samplers is to use the Separate Clip On Grid function in Pro Tools. Again, it does what the name suggests. You set the grid on the toolbar to the division to wish to use and then use this function to chop up the audio into equal-length parts. You can find this option in the Pro Tools Edit menu. Edit/Separate Clip/On Grid.
This option is particularly useful if you want to chop up a loop and then reconstruct it to tempo. Bear in mind that the session needs to be at the same tempo as the loops if you’re going to use it in a new song.
Check out the video below to see Separate Clip On Grid in action.
Strip Silence
Strip silence is a function that is normally used to remove sections of silence in a long audio clip.
It works by setting a threshold level, any audio under that theshold is identified as silence and then removed from the clip, leaving tens, or hundreds of separate audio clips on the timeline. The function has some other features such as padding before and after the clip, to avoid any abrupt truncation, as well as a minimum clip duration.
Even though it is not the intended purpose, if you want to take an audio clip and create one-shot samples, in some cases Strip Silence can be useful.
Strip Silence can be found in the Edit Menu. The shortcut is Command U (Mac) or Control U (Windows).
Once You Have The Clips
Once you’ve created your new clips for use in your sampler, then a couple of extra housekeeping matters are worth considering.
The first is to rename the clips and give them a meaningful name. Otherwise, when you import them into GrooveCell or a sampler, they are going to have names that are autogenerated in Pro Tools.
When you want to export the clips, open the Clips browser in Pro Tools. You do this by clicking on the small ➡| icon in the bottom right of the Pro Tools Window. Depending on the visibility of the Clip Browser, the arrow shows on either side of the line in the icon. When open, it shows as |➡

The show hide clip browser option in Pro Tools
One thing to note, in order to see any newly created audio clips in the Clip Browser, you need to make sure you’ve selected Show/Auto-Created using Option/Command/K (Mac) Control/Alt/K (Windows). Otherwise, your new clips won’t show up.
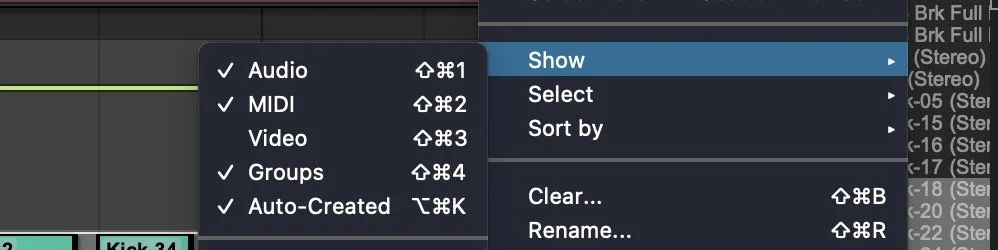
Show/Auto-Created
If you select all the clips you want to export in the Pro Tools timeline, then this should highlight them in the Clip List. Then use the Export Clips as Files function to save them. The keyboard shortcut for this is Command Shift K (Mac) or Control Shift K (Windows). Follow the dialogue box to export the clips.
Finally
An important thing to remember if you are moving clips around. Make sure the audio files you want to use in GrooveCell are not deleted, as GrooveCell uses the file links as dependancies. In other words, of you delete or move the audio then it won’t then show up in GrooveCell. This is shown by the pad turning orange. So make sure you save them in the Session Folder so that wherever the session folder is, the samples are too.