Last year, we helped you to steer clear of five common mixing pitfalls that will be all too familiar to most, and here we’re extending the list with five more issues that every engineer and producer should be aware of and prepared to negotiate.
Not Having (Or Sticking To) An Overall Sonic Goal
While it’s fine to change course as required throughout the mixing process in order to bring the best out in a track, if you start with some sort of concrete plan in mind, you’re less likely to suffer hold-ups through procrastination, which can easily become considerable if allowed to. Before you get started on the mix proper, quickly set up a rough, static mix and make notes on everything (technical and conceptual) that comes to mind as you listen through it a few times – that should give you a good reference to guide your subsequent manoeuvres.
Naturally, the mix you end up with is unlikely to be exactly what you envisioned at the outset, and you should never feel like you just can’t deviate from the plan no matter what; but always keep your attention on the focal parts in each section of the track, and perhaps bear in mind that it’s the simplest mixes that are often the most musically memorable.
Over-Using The Solo Button
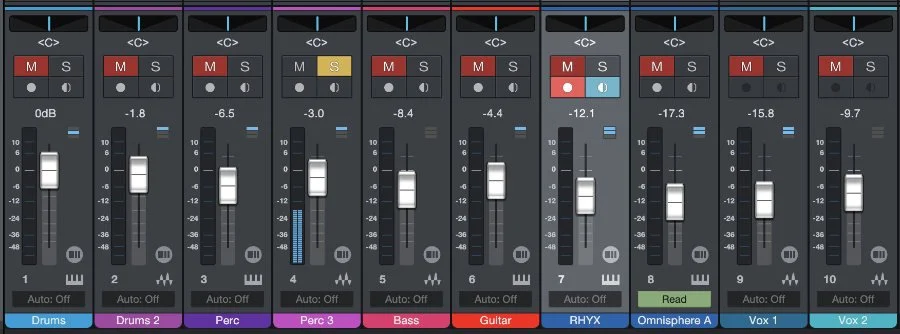
Since the end goal for every individual element of a track is to work in the mix, rather than in isolation (unless it’s ever actually heard unaccompanied in the track), there’s a fairly popular audio engineering school of thought that suggests one should never solo anything when mixing. We’re not sure we’d advocate quite such a bloody-minded position, but the core tenet it is certainly true: whenever you solo a channel, you run the risk of getting bogged down in the subtle flaws and minutiae of the part thereon that really don’t matter in the broader context of the overall sound. So, if you are going to do it, move fast and get back to the full mix as quickly as possible.
Obviously, if there’s an errant resonance or other sonic intrusion that needs resolving, soloing or muting parts is the easiest way to find it; but when it comes to creative decision-making, resist the temptation to hit the ‘S’ if you can, and see where you end up at the end of the mix. It’s likely you’ll completely forget about whatever it was that had you reaching for the button anyway, and it won’t make any difference whatsoever to the final listener.

Spending Too Long Trying To Fix The Unfixable
Following on from that, if you find that no amount of EQ, compression or other curative processing is enough to get a certain part sounding how you want it to, stop wasting time and consider your options in terms of removing or replacing it. If the part isn’t an important one – a synth pad, one-shot guitar lick, etc – mute it, continue mixing, and see if you miss it at all. If you don’t, delete it. If you do, either re-record it, replace it with a sample if re-recording isn’t possible, or fill the space it occupied with something new and less troublesome.
Of course, if the part in question is a fundamental element of the track – the drums, bass, vocal, etc – you have a genuine problem, and re-recording may well be your only option. Do be honest with yourself at that point, and don’t settle for an iffy sound just to avoid the inconvenience of tracking it again. Your mix deserves better!

Not Checking For Phase Cancellation
Always a potential issue with instruments recorded via multiple microphones (drum kit overheads, guitar cabs, string sections and so on), phase cancellation occurs when the waveforms of two or more representations of the same source are out of phase with each other – ie, one is moving the speaker cone outwards, while the other is pulling it inwards. The result is an obvious ‘hollowing’ of the sound or general lack of weight and presence, and it’s never a good thing. Happily, correcting the cancellation caused by out-of-phase signals is a piece of cake: hit the polarity invert switch on any one (or more) of the channels playing back the same source, and if it sounds better, it’s correctly in phase! Alternatively, if you’re dealing with a lot of channels (a full drum kit, say), you might want to check out the brilliant and powerful one-click solution that is Sound Radix’s Auto Align 2.
On top of that, it should be taken as standard practise to regularly check the mix in mono to make sure you’re not missing any phase cancellation – particularly in the low frequencies – that isn’t apparent in stereo. Many club PAs and domestic playback systems are mono, so fail to do this and you might leave your listeners wondering where the bassline has gone.
Treating The Stereo Image As An Afterthought
Although clarity and punch at the mono centre of the mix should always be of primary concern, it’s all too easy to overlook the stuff going on out to the left and right hand sides, which can ultimately lead to a mix that feels narrow, cramped and less ear-catching than it could. Well judged stereo panning and widening can elevate a track from solid and competent, to dramatic, exciting, surprising and fun. Whether you’re dealing with stereo parts such as synths, keys, reverbs and delays, or panned mono elements, such as hi-hats, guitars and backing vocals, always pay close attention to what’s going on in the panorama, using levelling, panning and EQ to make sure nothing is too wide, too closed in or at all distracting. Restrict your off-centre positioning to mid- and high-frequency sounds only, though, as panning bass-heavy sounds away from the centre almost never works. And as mentioned above, don’t forget to check for mono compatibility.
Do you have a particularly irksome mixing bugbear that you’ve found a consistently effective solution for? Let us in on it in the comments.