In this article for Production Expert, Charles Dayton details how he creates boot drives of his machines for when he’s working away from his home studio.
A little while ago, there was a question posed in the ‘Post Production for Film and TV’ group about how rerecording mixers were taking their projects from their home studios to a larger stage. What’s known as “Four Walling” a stage. A lot of folks were talking about the hassle of dragging their computer, work drives, and iLoks to the stage to work. Some had portable rigs in rolling racks, some talked about getting the stage to install the plugins they were working with. I don’t do any of that, and I have four-walled a few stages in town.
What I do is travel with 4 portable drives and an iLok. So, what are the drives? One is a clone of my studio’s boot drive, one is a working drive with the project, one is a clone of my SFX drive, and the last is a backup drive… to back up to. When I boot the studio’s computer off my clone, I’m working from the comfort of my own system. The version of Pro Tools I’m currently familiar with, all of my preferences, all of my plugins, and even my screen background. The first thing you need to do is create a clone of your boot drive. For that, I use “SuperDuper”. Some people like “CarbonCopyCloner”. That works too. Make sure that the copy you make is ‘Bootable”.

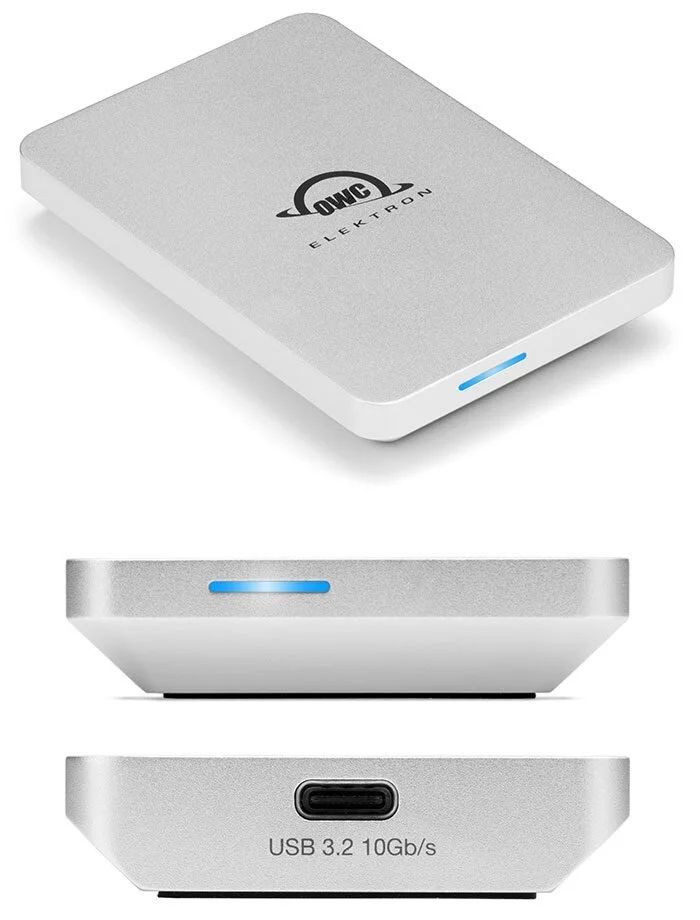
Just making a copy won’t create a boot drive. I recently got hold of an OWC Envoy Pro Elektron, 1TB SSD drive to do this with. And, within a matter of moments, it passed the toughest test. I knocked it off a drive shelf, while it was plugged in and running, and it hit the bottom of the rack hard enough to make a ding in the solid metal case. (Sorry OWC!). If it had been a platter drive, that might have been the end of it, but I plugged it back in, and it works perfectly. Gotta love OWC SSD drives, solid.
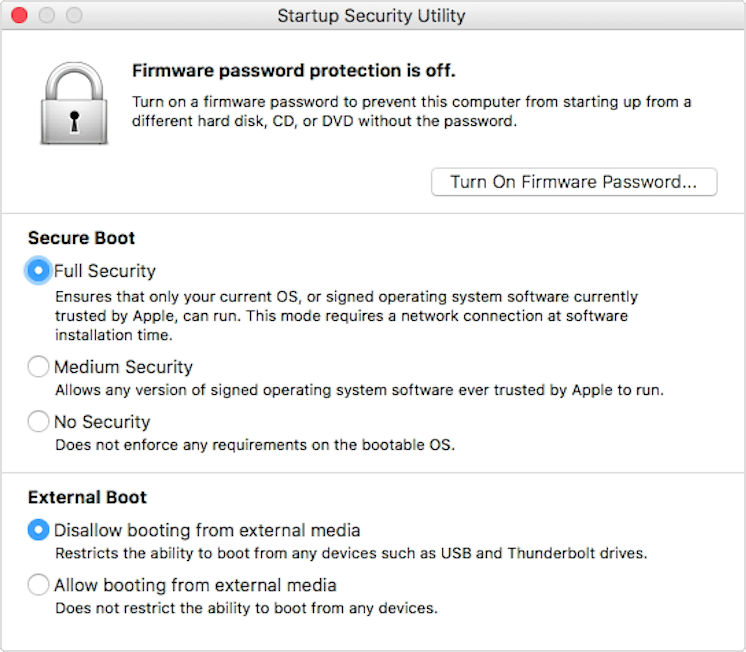
Now, with the new Mac Pros and the T2 security chip, there are a few things you’ll have to do to boot from an external drive. You will need the admin’s password for the system to do it. First, you will have to start up the computer in recovery mode. Hold down ‘command-R’ at startup. The admin screen will come up. Log in to the Admin account, and then click the drop-down menu ‘Utilities’. Choose ‘Startup Security Utility’ and under ‘Allowed Boot Media’ choose ‘Allow booting from external or removable media’. Now, click on the ‘Apple’ icon in the menu bar and hit ‘Choose Startup Disk’ and choose your boot drive, and restart. Congratulations, you are now working on your system.
As a side note, another bonus of doing this (and keeping the drive current) is that if your home system drive goes up in flames, you can plug this in, and get right back to work, until you can replace the internal drive. That’s a pretty great bonus (and I’ve had to make use of it in the past….) I’ve only ever gotten push back on doing this at one stage. After discussing it with the tech, and explaining the benefits of not installing my plugs on their system, and changing their preferences in PT, basically leaving their computer as it was before I rented the stage, they saw the wisdom of doing it this way. Once you are booted, you will have to adjust your outputs to match the stage you are on.
These days that means importing their DADMan settings, Dante settings, and if you are working in Atmos, the Dolby Atmos Renderer settings. Hopefully, there will be a stage tech that can point you to the folders where those exist, so you can import them into the appropriate programs. I like to get to the stage the night before, or the day before my session to set all this up and get it working. Nothing like having a client sitting around while you and a tech try to figure out why the routing isn’t working. 1 to 2 hours should be enough. I’ve been up and running in 20 minutes, but there’s no telling when Murphy and his family will move in.
The second drive is the work drive. You don’t want your project on your startup drive (Just don’t do it. Avid says don’t do it. I say don’t do it. Most people you meet on the street will tell you not to. So don’t.) You also don’t want it on the stage’s work drives. For security reasons, and for “who knows what shape their drives are in?” reasons. Plus, when you are done, it’s your backup and storage drive for the project. The third drive is the SFX drive. You don’t know what the stage will have available to you if they have anything at all. Renting a stage doesn’t necessarily give you access to their SFX library.
If you are working with more than just yourself, and have the luxury of having your SFX editor on the stage, you can skip this drive. There’s nothing like being able to turn back to your editor and ask for an effect, have them cut and edit while you mix, and then send it to you from their system. But not all projects I work on have that. So I bring my own.
Finally, there’s that 4th drive, the backup. What if the worst happens? What if the work dive drops out of my shoulder bag and gets run over by a Truck? What if aliens abduct it? What if there is a giant EMP? You should be making a backup at the stage and giving it to the facility to lock up overnight. You could also back up to the cloud if the stage’s Internet is robust. Up to you and the Post facility’s rep. But back up. Back up, back up, BACK IT UP! Save a copy in, with media, and refresh it.
So, back to the OWC Envoy Pro Elektron. It took a bad tumble and survived unscathed. It’s fast enough to run my session off of and small and light enough to carry 3 (4) of them without having to increase the weight in my upper body work out. It’s gonna be a great addition to my toolset.